|
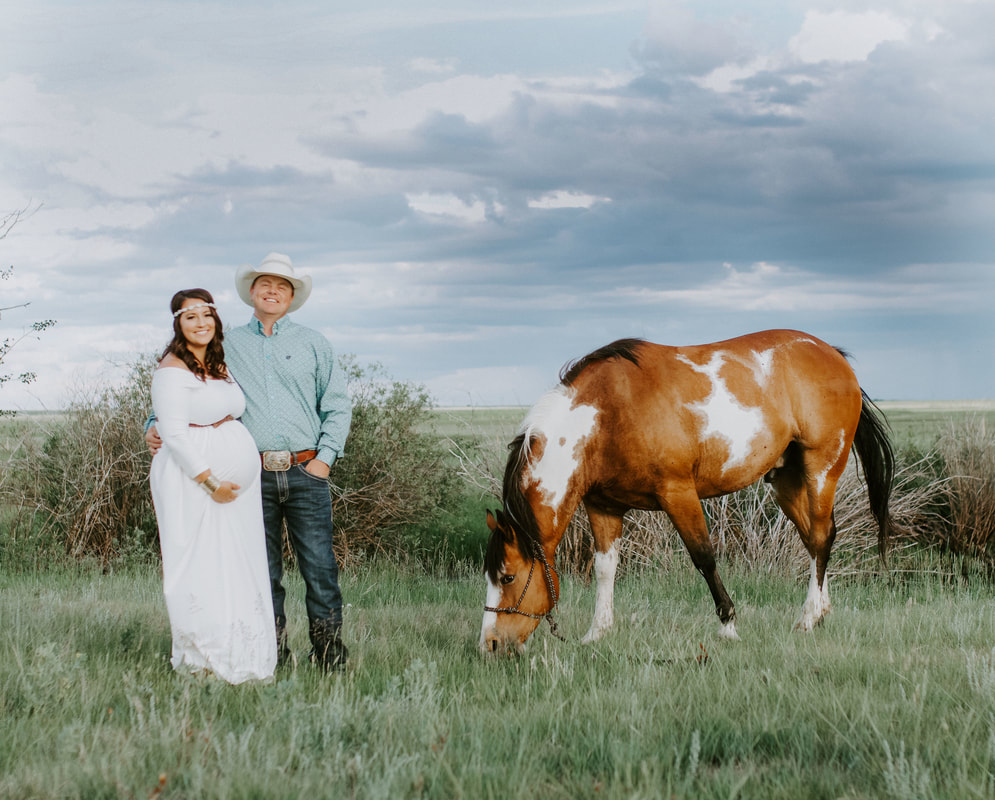
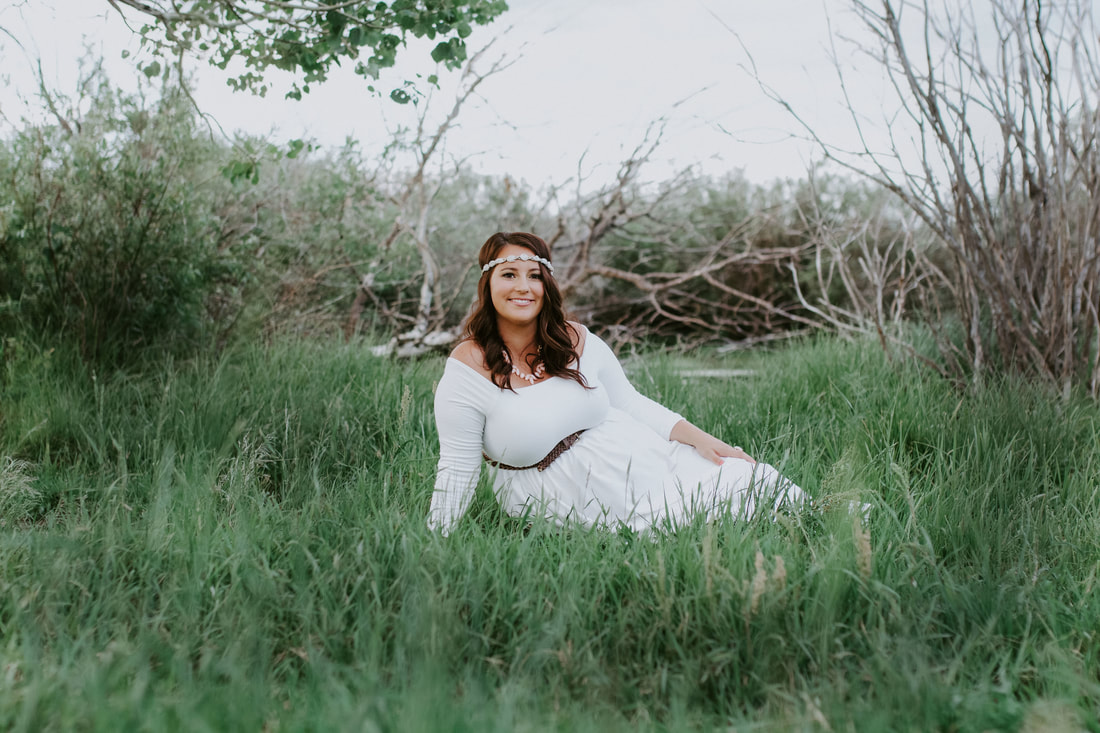
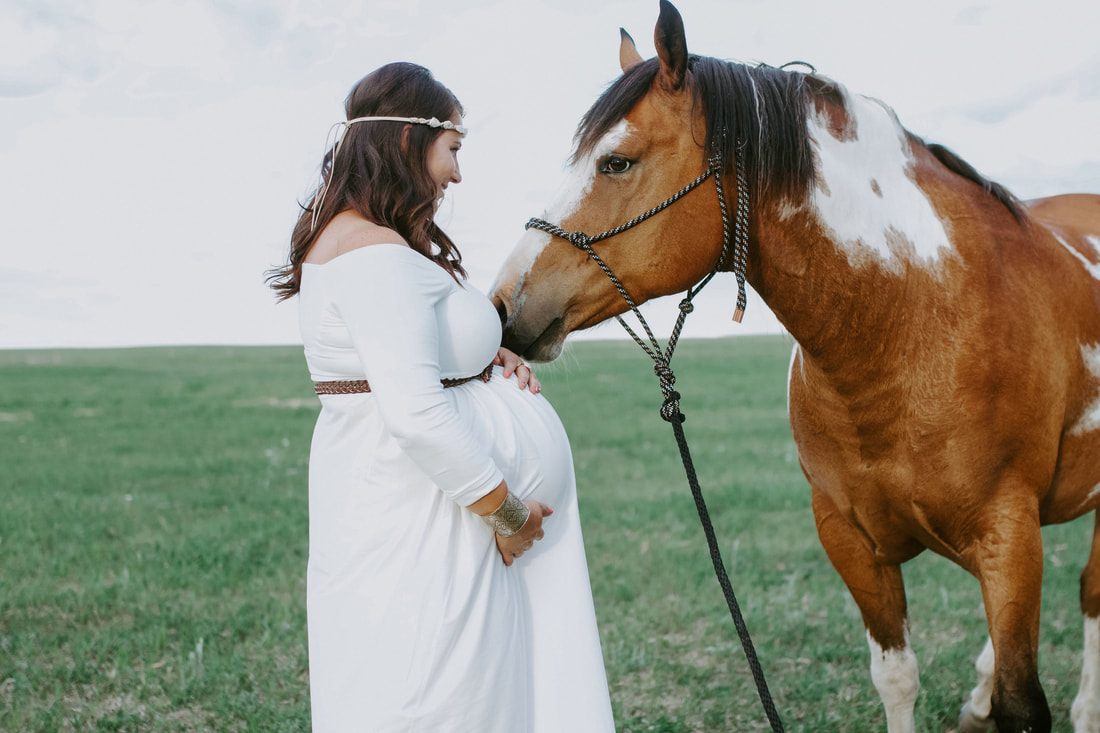
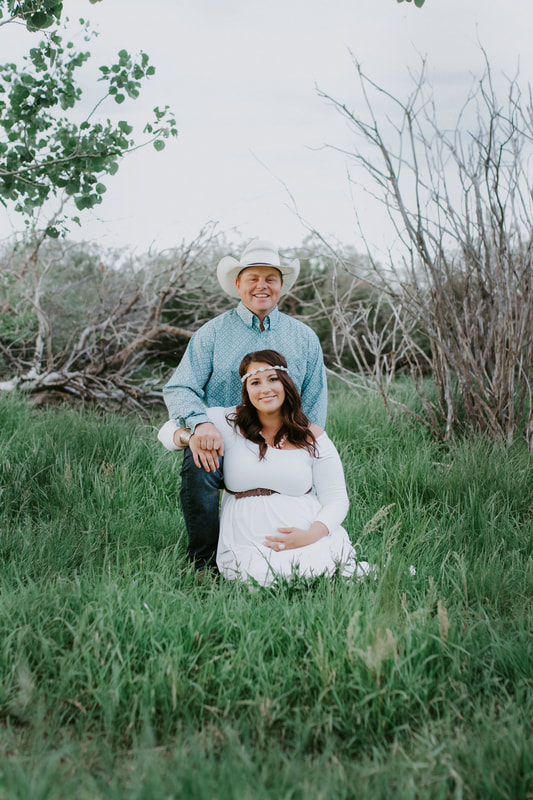
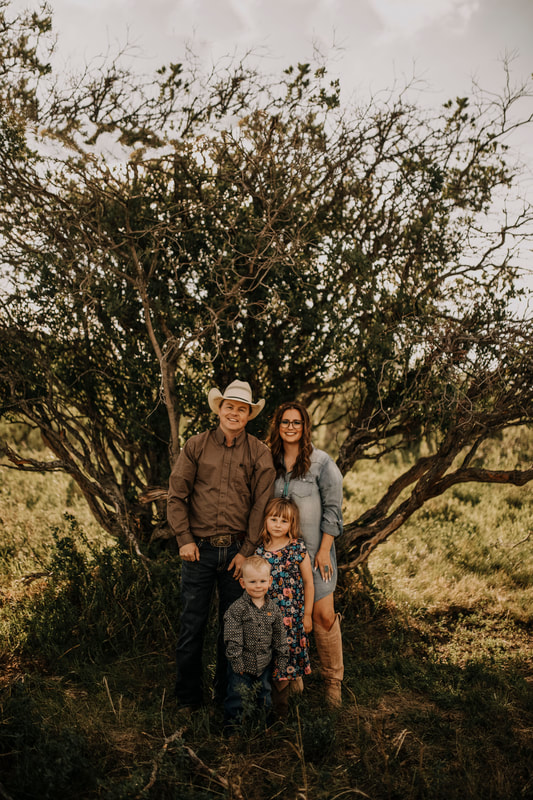
In July we are expecting our first daughter and we couldn't be more excited! Enjoy a few of our maternity photos done by the extremely talented Ciara Sandum Photography (check out her page, its seriously amazing!). I guess maybe we will have to change the name of the blog soon...
0 Comments
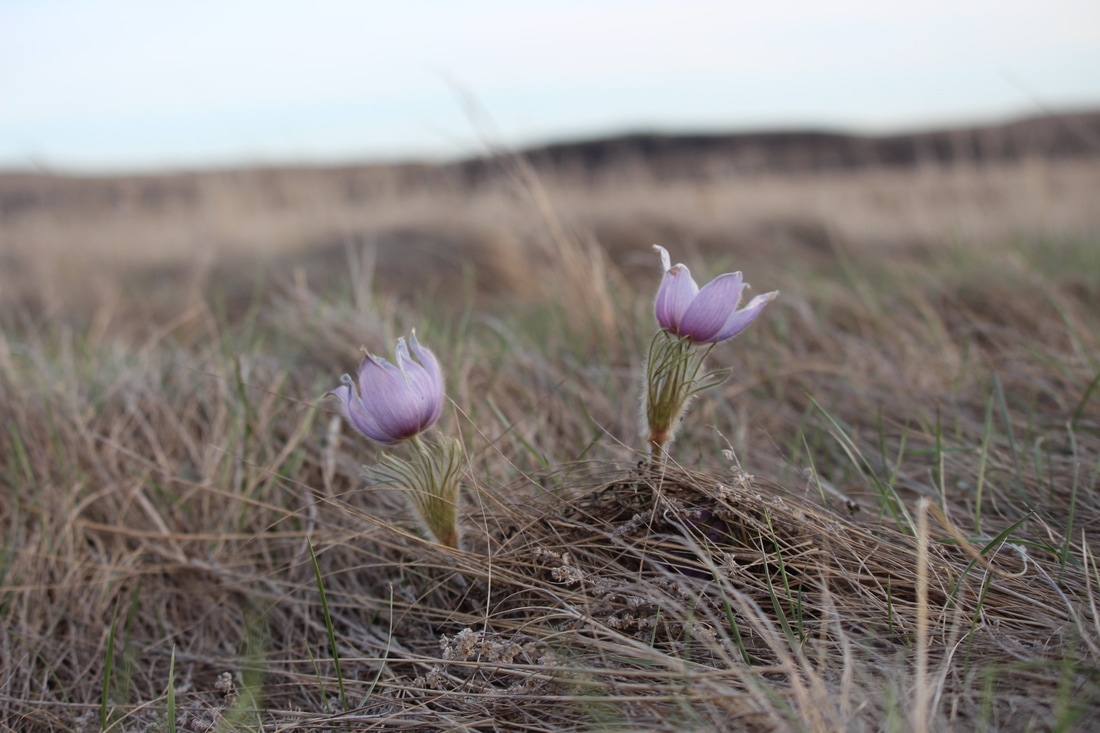
Native crocuses growing along the coulee tops of the Willow Creek in Special Areas 2 on May 3, 2017
What are the Canadian Badlands? Where are they? What makes them so bad (the good kind of bad ;))? Well you are about to find out! This summer I will be trekking across the Canadian Badlands, sharing my experiences and taking you all on a joyride of the southeast part of Alberta! So jump on in & take a rural road trip with me!
Canadian Badlands Tourism Ambassador
Blogging about my agricultural life for the past year has afforded me some pretty amazing networking opportunities that I am very thankful for, and another one has landed in my lap! The Canadian Badlands have offered myself and 17 other lucky souls an all access pass to the ultimate Badlands summer where we will be travelling around the region, experiencing, photographing and shouting our experiences for you all to share.
Follow me on Instagram (@MarriedwithCows) and Twitter (@WhiskeyCreek_AB), as well as on the blog, to see the secrets of the Canadian Badlands. Whether you live in the Badlands, would like to travel to them, or have no idea what they are, I will help you plan the ultimate summer vacation to my very own corner of the world! And don’t worry aggies, I couldn’t possibly tour anywhere without integrating agriculture into every kilometer of my journey. Hold onto your hats folks, she’s going to be a fun summer!
Want to see more from the Canadian Badlands?
Check out the following hashtags on Instagram & Twitter: #CBTAmbassador #MyBadlands #SpecialAreas #VisitNewell #VisitLethbridge #YQL #Lethbridge
Social media and blogging have been the cause of a lot of flack from people in my life. Many of the people I interact with "in real life" think it's silly that I share so much of my life on the internet and often like to give me a hard time about it. I must admit that sometimes I take that ribbing to heart, but then I remember about all the amazing opportunities my social media life has granted me. One of which is meeting fellow online agriculture advocates form across Canada. At the inaugural Canadian Beef Industry Conference this last summer (read about that here) I met up with some of my blogging role models, one of which was former Cattlemen's Young Leader mentee and Ontario Fruit & Vegetable Growers Association communications Specialist Amanda Broadhagen (@AmandaBrodhagen). She recently tagged me on Facebook to participate in the #BeforeThePlate Challenge, and I of course accepted!
Favorite Moments
Amanda challenged me to share some of my favorite moments on the farm where we proudly produce food for Canadian (and international) consumers to enjoy. As commercial beef producers, Clay and I put our heart and soul into supplying healthy, safe, delicious beef products that are raised responsibly and humanely. We love to share the ins and outs of our operation through online platforms, and we welcome questions both in person and on social media. We always vow to answer honestly, and hope that we postively represent Canadian cattlemen.
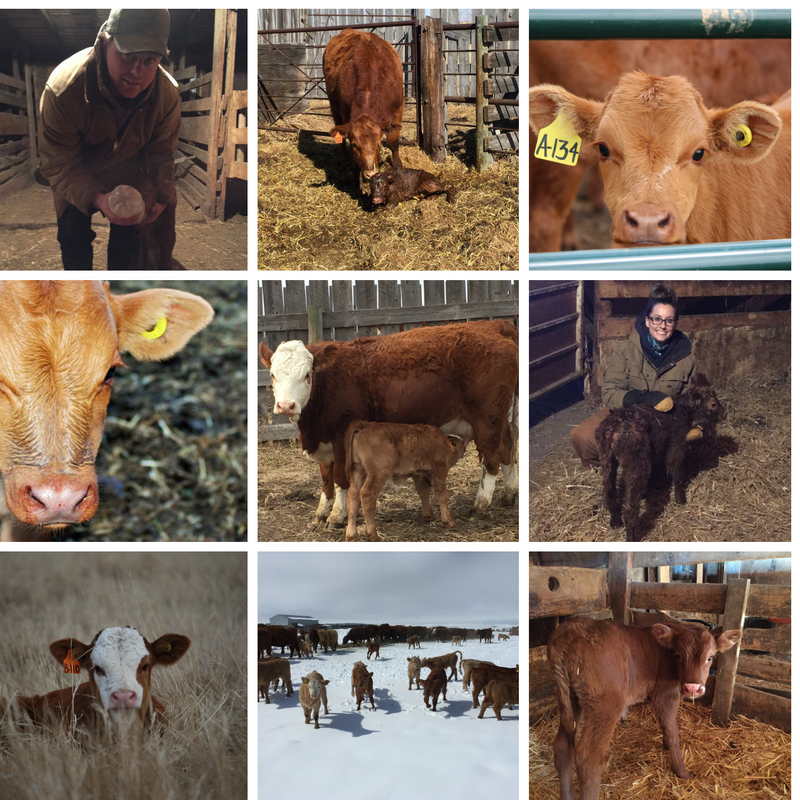
Calving Season
Calving season is one of my favorite times of year on the ranch. We typically calve in March but there is no right or wrong time to calve your cows, in fact, dairies calve all year round! Each operation will choose the time of year that best suits their herd and needs. While calving may be one of the most stressul, time consuming and hectic times of year at our ranch, it is also the most exciting, rewarding and fulfilling. You just can't help but smile when you are surrounded with newborn baby calves, happy mamma cows and the first signs of spring! Here are some photos showcasing calving season at our place:
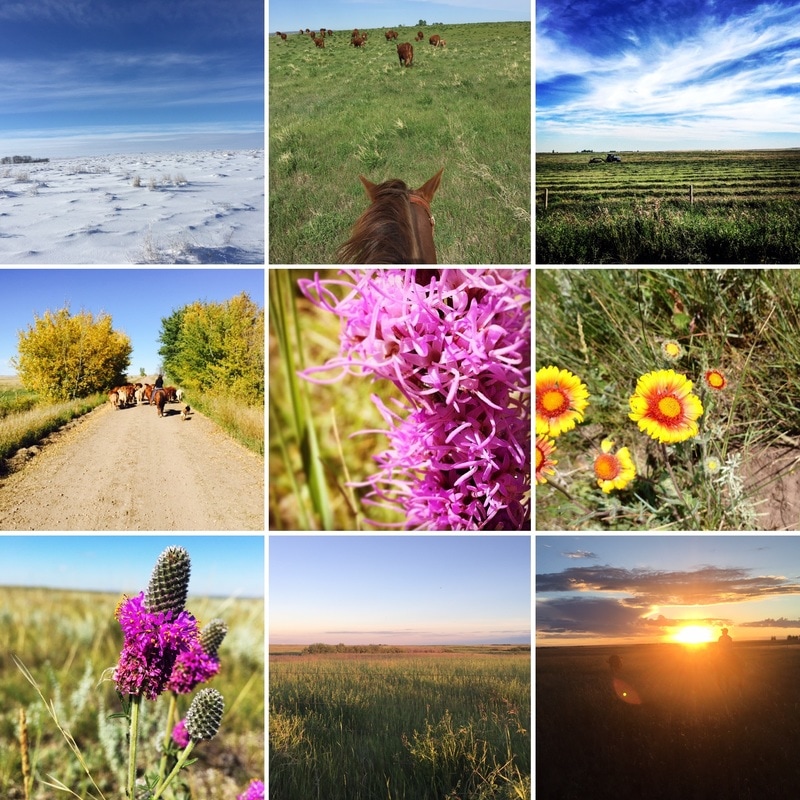
Land Management
It may come as a surprise to some, but land management is also a cattlemen's task that I find so much joy in. We are very fortunate to be able to raise cattle partially on native prairie rangeland. It never ceases to amaze me how truly diverse, adaptable and valuable this natural resource is. And because of that, Clay and I take great pride in balancing the forage needs of our cattle with the unique capacities of the range. We strive to leave this land more abundant, diverse and efficient for our future children than we received it. Here are a few snapshots of the range, tame pastures and hay land that we utilize in our beef operation:
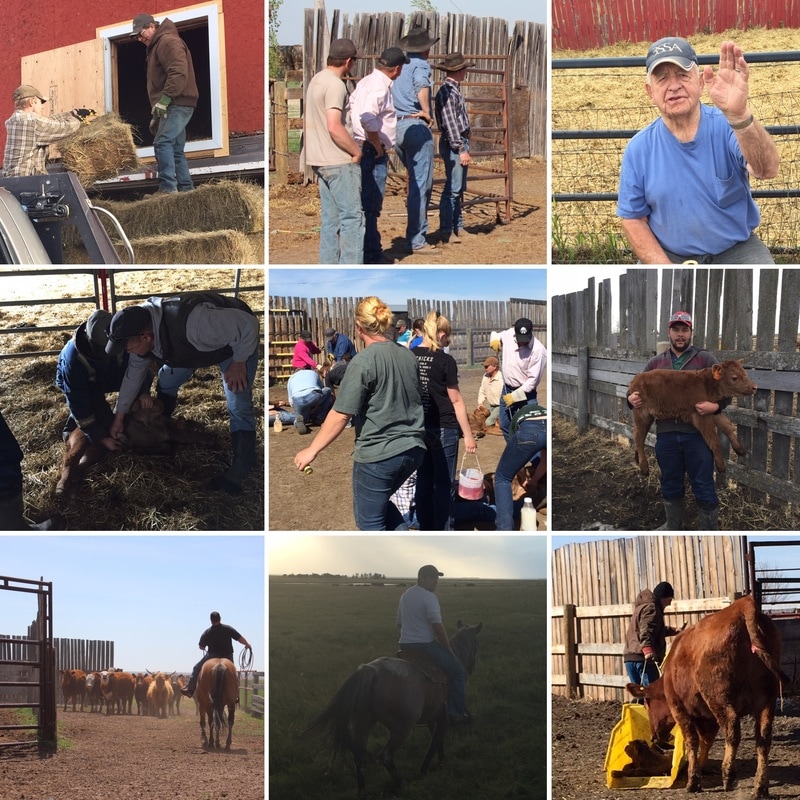
Cow Community
I would be totally amiss if I didn't mention the sense of community in raising beef cattle. Rural life has a way of bringing people together, and those people; well, they are down right amazing! Whether its helping care for calves, feeding cows, baling hay, harvesting, processing cattle or moving pastures, my community has been right beside me every step of the way. Clay and I are so blessed to have such phenomenal friends, neighbours and family that are here to help us at the drop of a hat. And speaking with other cattle producers, this is a common thread no matter where in the world you produce your beef. In honour of the thoughtful, generous, hardworking cattle communities out there, here are some photos of our help. And to all you helpers reading this, THANK YOU! I can never say it enough.
Posted By: Jesse Williams I've kicked off my cowboy boots for the night after an amazing first day spent at Northland's Farmfair International in Edmonton, AB and I can't wait to throw them back on for day two. This was my first experience attending the infamous agricultural event that brings cowboys and cowgirls together from across Canada, America and even around the world, but it certainly won't be my last. And if you had the same lame excuses I cooked up over the years for not attending (no, you aren't really that busy), then I am telling you now to get in your truck and head on down. I barely scratched the surface of Farmfair International on day one, spending the majority of my time at the Beef Advocacy Canada booth in Hall B, where the livestock shows were taking place. I also managed to sneak away for a few moments to the Ram Country Marketplace. Below are the top 4 reasons I think every rancher should experience Farmfair International at least once, and this is only from day one! I am looking forward to exploring more tomorrow, like the Heritage Ranch Rodeo, western art gallery, mozzarella making, horse wellness expo , dummy roping championship, of course the Canadian Finals Rodeo and so much more. 1. Farmfair is for families, by families The first thing that I noticed in the exhibitors hall where the livestock shows were occurring, was that Farmfair is a family affair. Generations of cattlemen were cooperating to wash, clip, groom, show and watch livestock. There was an immediate feeling of familiarity and comfort for me when I entered the show barns. It was as if everyone there was part of one big, amazing, happy agriculture family. If you are a rancher who thinks that you might not be "good enough" or "big enough" to attend events like Farmfair International, don't be afraid. I have never felt so welcomed as I was in the exhibitors hall at this event. It truly warmed my heart and reminded me why agriculture is such a pride filled, honorable industry to be a part of. 2. Make connections, make money One thing that has become very evident to me since the Canadian Beef Industry Conference this past August is that the agriculture industry is all about connections. Networking at events like Farmfair International is such a huge opportunity for your farm and your farm profitability. These are the events where any rancher, no matter the size of his herd, can connect with other like minded individuals, learn new things, discuss old strategies, and make business connections that can add value to your bottom line. Whether you are looking for the best breed genetics, the up and coming breed characteristic trends, the latest production technologies or the most innovative tools, you can find someone that shares your interests. And remember that every conversation you have is an opportunity to market yourself, your farm and your products. Don't underestimate the power of a BS session and handshake- it's how a lot of business is done in our industry! 3. Share your story & advocate Don't forget that Farmfair International is set in the middle of Alberta's capital. You are literally surrounded by urban individuals, some of which head on down to Northlands to experience the ol' west. For many of these urbanites, this is therir only exposure to the farm. So what better way to show your pride and dedication to our ag industry than share your story with those who may not understand it? Show off, explain your dedication and demonstrate where the food comes from. Booths like Beef Advocacy Canada, the Alberta Beef Producers and the Canadian Beef Industry Conference/ Cattlemen's Young Leaders are excellent resources to help you share your story. 4. One stop SHOP Ok, so this may not be as exciting to some of you as it was to me, but the shopping is phenomenal! The Ram Country Marketplace boasts over 200 exhibitors that are targeted towards the cow poke folk. There are booths selling cowboy hats and boots, western jewelry, custom saddles, beautiful artwork, cattle & horse accessories, handling equipment, drones, western clothing, children's toys, leatherwork, and the list goes on and on and on! I had an absolute blast going through the marketplace and completed an ever growing wish list, much to my husbands chagrin. I also found something for almost every single person in my family for Christmas, and some great pieces for my the new house build. It truly is a Cowboy's Christmas at Farmfair International's Ram Country Marketplace! Disclaimer: This post was sponsored by Northlands. Opinions expressed are my own. Compensation was received.
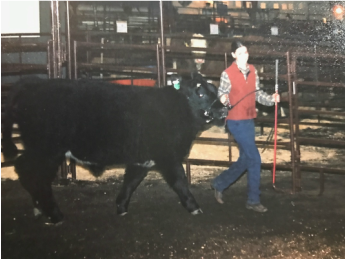
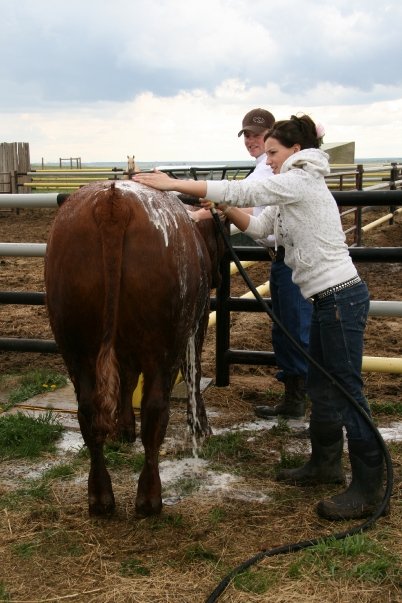
It's SHOW TIME!... at Northlands Farmfair International As Edmonton's Farmfair International quickly approaches (November 9-13!) and I prepare for my very first visit to Northlands for this event, I feel the need to share my excitement! I am honored to volunteer my time at the Beef Advocacy Canada booth during one of Alberta's top agricultural shows as part of the Cattlemen's Young Leaders program and am so looking forward to the week ahead! 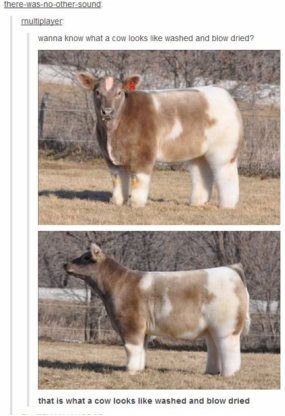 If you are interested in my adventures over the next week follow me on Twitter (@WhiskeyCreek_AB) or check out the hashtags #Farmfair and #CFR43, or the accounts @Northlands, @CFRedmonton for all the Farmfair International fun! While I have never been to Farmfair before, I have spent a few days in a cattle show ring in my day and all of the hype of this event has made me reminisce about my show days. I scrounged up a few old photos below from when I showed cattle in 4-H as a youngin', so have a look and enjoy a good laugh on me! While I giggled with my husband about my fashion choices, my mind wandered to the popular clubby calf photo that has been going around the internet discussing blow drying cows. While it is true (cattle showers do wash their animals, and dry them!) I thought it might be fun to discuss how and why cattle exhibitors get their animals ready for showing, and maybe how you might get ready for Farmfair too! Why Show Cattle? Why do some cattle owners spend the time to wash and blow dry their animals, drive them to the city and enter them into huge livestock shows like Farmfair International? The answer is simple- to show off! Cattle breeders, whether commercial or purebred, use these opportunities to demonstrate the quality and characteristics of their animals, not to mention all the hard work and pride that goes into breeding cattle. Depending on the breed, you may see a dairy producer show off the superior milk production of their cows, or maybe an Angus breeder demonstrate the carcass quality of their beef, or maybe even a commercial breeder show off the hybrid vigor of their crossbreds for replacement heifers. That's the beauty of livestock shows- there is something for everyone! Whether you are a fellow cattle breeder, beef consumer or someone just interested in farm life, there is no better place to learn the ins and outs of livestock. These shows give livestock producers the opportunity to see a tiny piece of many farms in a one stop shop. While I joke about showing off and bragging about your own cattle, shows like Farmfair International do allow producers to share ideas, learn from each other and discuss production methods that would otherwise never be possible. The 'international' part of Farmfair International truly is just that. People from around the world are invited to and attend Farmfair! How Do You Blow Dry A Cow?
After gaining the trust of your show animal, the next step is getting show ready! I would start by clipping. I used very quiet electronic clippers to do the job. My hubs is still jealous that I used nicer clippers on my cows than on him! The point of clipping is to highlight the best features of your show animal. You can clip to varying degrees, but I typically concentrated on head, top line and tail head clipping. It's important to note that clipping does not equal shaving- just minimal trimming that emphasizes the best qualities, while still looking natural. (Disclaimer: I had some amazing friends and family that always helped me clip my 4-H steers! They did a top notch job and I am still very appreciative of all the hours of hard work they put in!).
Get Show Ready! So now that you have a crash course as to what goes into getting cattle ready for big shows like Farmfair International, you need get ready yourself! And if you are anything like me when I showed cattle, you'll spend weeks getting your cows ready, wake up early in the morning to get the best wash rack spot and the closest grooming chute, work on perfecting that tail head for hours, and then throw on a semi-clean shirt with a bunch of wrinkles and pinch your cheeks for color! Cattle exhibitors often spend all their time and effort pampering their livestock and run out of time for themselves. So don't be like I was (you can do better!). Head on over to the Ram Country Marketplace and grab yourself some fashionable outfits from the many amazing vendors that will be setting up shop. (You can get the full list here.) And even better, grab a thing or two for your friends and family. By the look of the vendor list there is no better place to get your Christmas shopping done! Disclaimer: This post was sponsored by Northlands. Opinions expressed are my own. Compensation was received.
Posted By: Jesse Williams If you have zucchini coming out of your garden like I do, this is a great way to preserve it for the winter. Credit goes to my big sister for sharing this recipe with me and answering all my canning questions, even at 10pm at night! 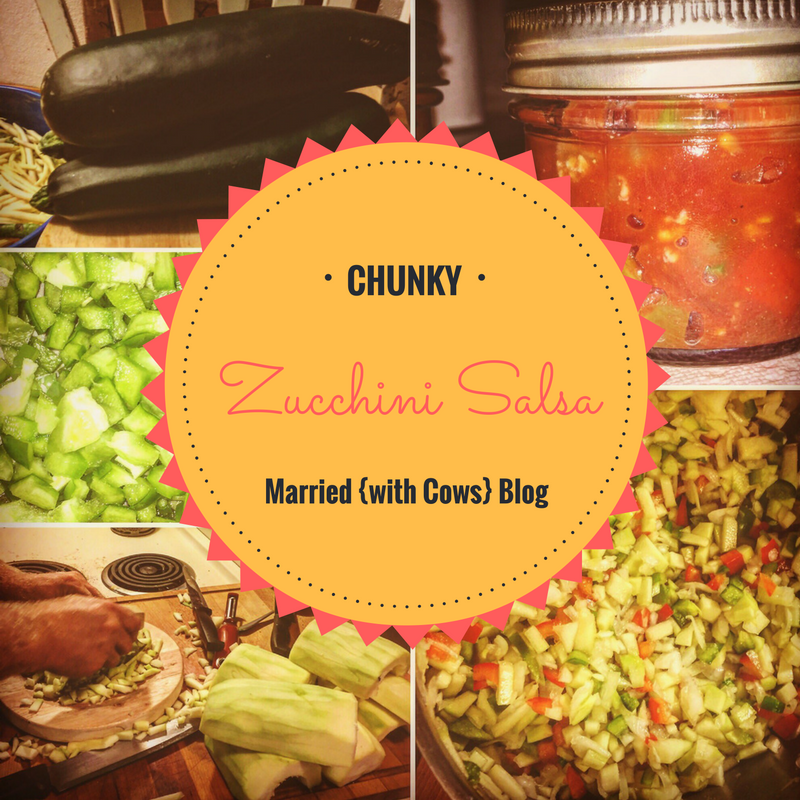 Ingredients: PART 1: 12 cups of chopped Zucchini, seeds removed (can shred if you prefer the texture) 4 cups chopped yellow onion 2 cups chopped red pepper 2 cups chopped green pepper 2 jalapenos, chopped (remove rubs & seeds for mild taste) ¼ cup pickling salt PART 2: 8 cups chopped tomatoes (can used canned dice, or fresh with skin removed) 1 cup brown sugar 2 cups pickling vinegar 2 tsp chili powder 2 Tbsp cornstarch 2 crushed garlic cloves (large) 2 tsp cumin 2 tsp dry mustard 2- 13oz cans of tomato paste Directions: PART 1:
Click to set custom HTM
Posted By: Jesse Williams
If you didn’t catch Part I of the two day Women’s Grazing School Review, click here.
While Part I focused on the on-site tour of Nature’s Green Acres, Part II will be an overview of the classroom portion of the event, which was jam packed with great information. Low Stress Cattle Handling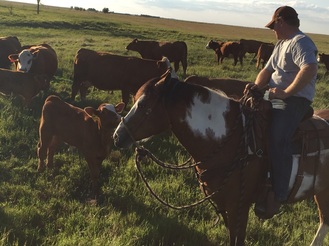
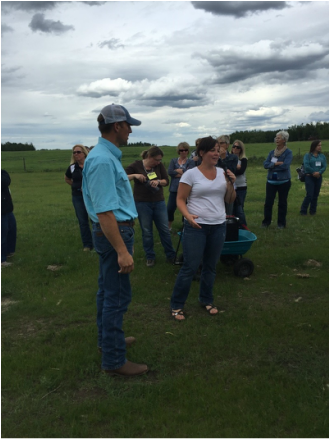
Dylan Biggs is a Special Areas rancher who has made a name for himself in low stress cattle handling, teaching the subject and working with ranchers across the industry to improve their methods. He believes that every step an animal takes should be voluntary and not relying on force or fear. When it comes to calving, branding, turning out bulls or weaning, Dylan Biggs believes there is a stress free way to handle your cattle. And I would have to agree.
I had seen Dylan speak about his techniques before this Grazing School, but a refresher course never hurts- no matter how long you’ve been in the game. While his methods aren’t anything out of the ordinary, he reminds us to use cattle psychology to make the right things easy and the wrong things difficult when handling cattle. I think every rancher would have to agree that sometimes emotions run high in the sorting pen or when that bull won’t cut from his herd, voices may raise, tears may fall and wives will storm off (come on ladies, you know it’s true!). Whether it’s Dylan Biggs or another herdsman of your choice, I encourage everyone to take a few minutes to refresh their low stress handling strategies and I challenge you to share those methods with someone else. Whether it’s your spouse, your neighbour or your kid, remind them where those blindspots are for a cow, or how to indirectly push from the sides, or maybe just to remember its ok to back up and give that cow some space! With so many consumers looking ever deeper into our operations, it never hurts to reinforce low stress livestock handling methods with your ranch hands. To learn more about Dylan Biggs and his cattle handling techniques you can visit his website at www.dylanbiggs.com or read more in this Grain News Article. Managing Forages from the Ground Up
This was probably my favorite presentation from the whole event. Karin Lindquist, Forage-Beef Specialist with Alberta Agriculture, was an absolutely fabulous speaker. I think I enjoyed her presentation so much because of the immense passion that she spoke with- she truly is a “Range Nerd”, as she put it.
She stressed that the best way to manage our farms is from the ground up. Start by managing your soil first, as it influences what can be grown and how well. I think over the last few years our industry has been doing an amazing job encouraging producers to start thinking about their soil as their top asset. 2015 was deemed the International Year of Soils by the Food and Agriculture Organization of the United Nations and boy did our local research associations do a great job promoting it. (You can head over to http://www.chinookappliedresearch.ca to see what was and still is going on in my area!). Karin then reminded us that to manage your forage, you need to know what plants you have. This can be easier said than done if you don’t have an agriculture degree or a self-proclaimed Range Nerd nearby! However, Karin gave us some great resources to use to identify the plants in our pastures, and assess the health of our range: Alberta Range Plants & Their Classification Range & Pasture Management When Dealing with Drought Alberta Tame Pasture Scorecard Management of Canadian Prairie Rangeland Pasture Planner- A Guide for Developing your Grazing System HR on the Ranch
Abby Verstraete, Alberta Agriculture & Forestry’s Rural Business Specialist, was on hand to chat about the importance of Human Resource Management on the farm. This topic is all too often overlooked when it comes to employees on farms and ranches, maybe due to the seasonality or wide variance in positions. Country Guide recently interviewed Abby about attracting and retaining workers on the farm. You can read it by clicking here.
Overall, the two day Original Grazing School for Women was a fun, information filled event that I would recommend to others. With such a diverse group of ranching ladies from across the province and experts from across our industry, this event and others like it, are worth the time and investment in my opinion. After all, the best way to improve your operation is to ask questions, meet other ranchers and learn from their experiences!
I absolutely LOVE learning and I think there is so much to learn from visiting other people’s ranching operations. I find this is true no matter how many times you’ve visited or how good of friends you are. I literally learn something new every time I go to somebody’s branding, help move their cows, or even just go for an evening beer. This is why I am so excited to share with you what I learned at the Women’s Grazing School. I took lots of notes so this is basically a condensed version of the entire school… thus it’s being delivered in two parts!
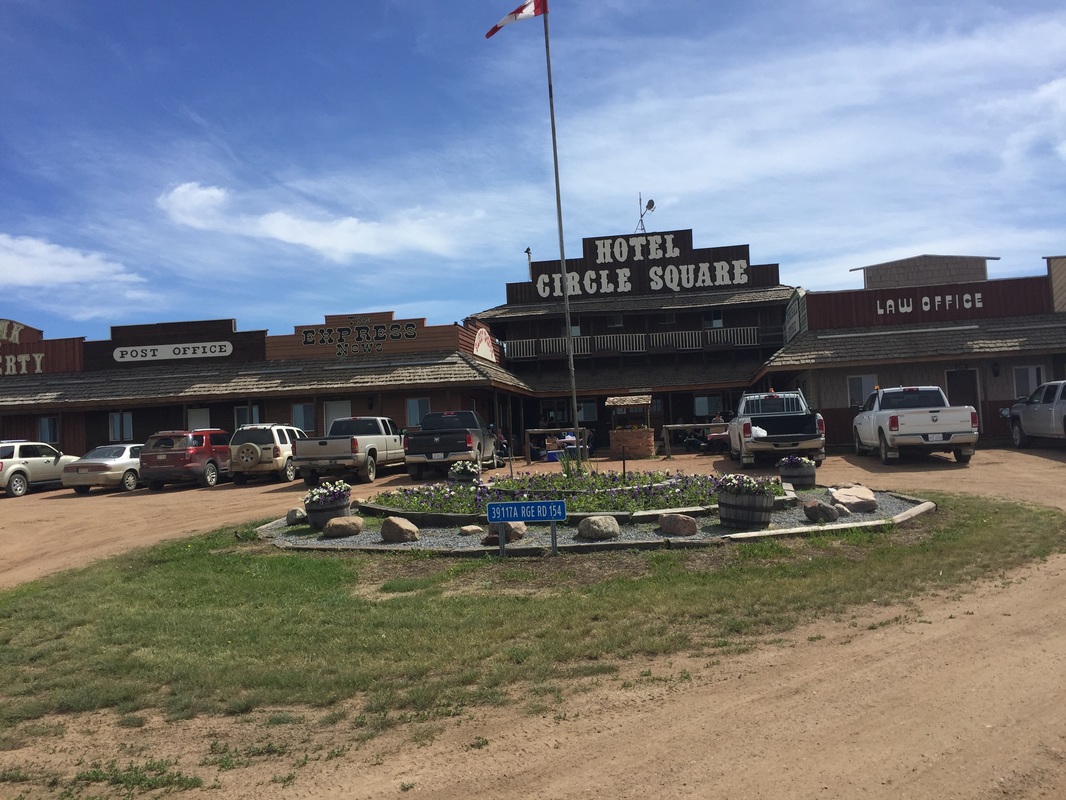
We spent the two day grazing school at the very popular Circle Square Ranch, in their old townsite
A few weeks ago I was lucky enough to attend The Original Grazing School for Women hosted at the Circle Square Ranch near Halkirk, AB. Over 50 ladies from all over Alberta gathered to be part of this annual educational event aimed at sharing livestock grazing practices to increase production, return on investment and biodiversity on the ranch. This was my first grazing school and if anyone is interested, there is another one happening called The Southern Alberta Grazing School for Women this July 27-28 in Elkwater, AB!
Day one brought us to two different ranching operations near Killam, AB. The first stop was at Nature’s Green Acres, owned and operated by Danny and Shannon Ruzicka. Their farm raises grassfed beef and pork that they direct market to consumers and in particular, the Rge Rd Restaurant in Edmonton, AB. Danny, Shannon and their kids were very gracious to let us tour their farm and gave us some insight into their rotational grazing strategies.
Rotational Grazing Cattle
Because they restricted direct access to the creek, they needed to provide a new watering source for their cattle. They decided to create a wet well off the creek, installing a Nose Pump with two watering bowls that will suit up to 100 head of cows. While they raved about their nose pumps I am a bit more skeptical, based on our own recent experiences.
Now I am a numbers girl so the burning question I had was what their increased grazing days or production was. Shannon explained that they hadn’t really monitored the before/after as that was just one more thing that would have stopped them from finally getting their rotational grazing system up and running. I can’t blame her, but I fully intend to monitor the difference in our cow days/acre once we get ours fenced! Hopefully we can share this information with you next year!
Bush Raised Pigs
Danny and Shannon also shared with us their “bush raised” pigs. Of course the first thing I asked was What is a bush raised pig!? Simply put, they are pigs that are raised outside in rotational grazing paddocks that have heavy tree/bush cover, versus the traditional corralled or indoor conventional methods. Now I must give my kudos to the Ruzicka’s, here. I think this is a genius marketing strategy- they sound different, natural, and leave me wanting to know more! While I don’t think I will be able to provide bush raised animals on my flat, treeless prairie landscape, maybe I will have to try prairie raised pigs!
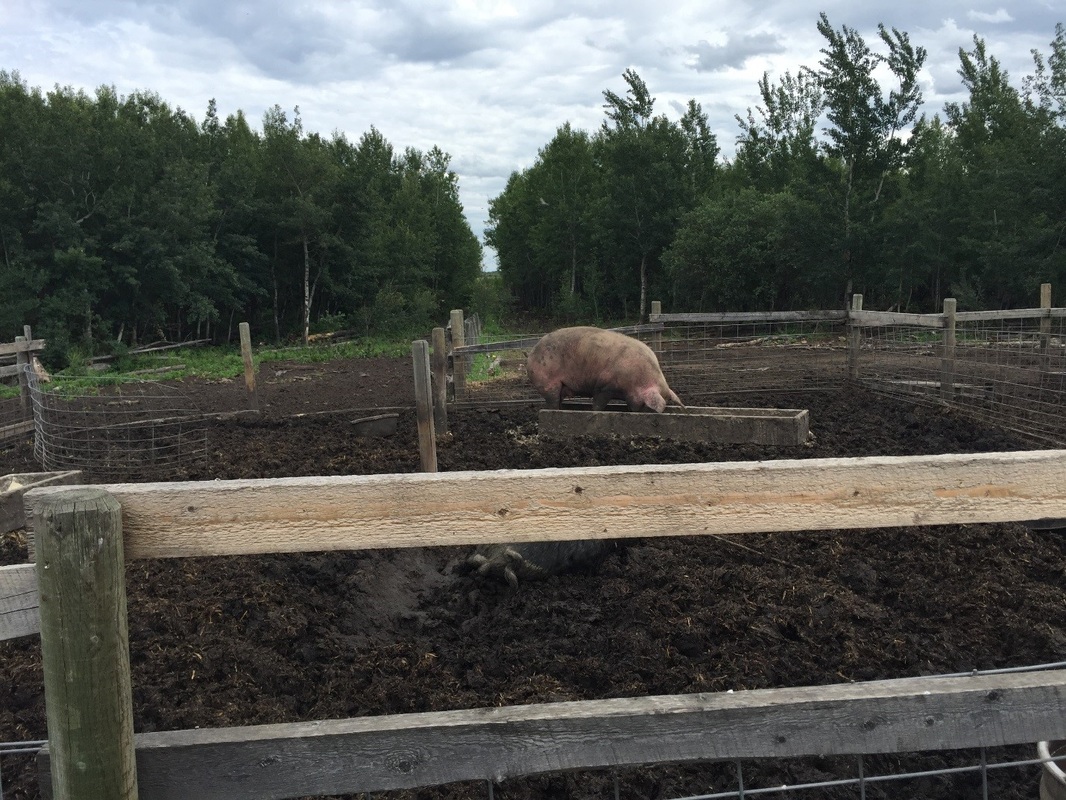
The farrowing sows, sows with piglets and weanling pigs were all separated into different paddocks. Each paddock had significant tree/brush cover that allow the pigs protection from the elements. The pigs graze the grass growing between trees, root up the soil and help break down the deadfall. When asked if the pigs harm the healthy trees, Shannon shared that it does take some management to ensure the pigs are moved from paddock to paddock before they overgraze and begin damaging healthy trees.
The Ruzicka’s shared with us that the breed of pig is very important to rotational grazing. Because the pigs are outside year round, it is essential that they use heritage breeds. These breeds are more adaptable to harsh weather and have thicker hides and longer hair for cooling/heating. Pigs that are raised in indoor facilities would not be suitable for their situation. They did say that you should check with your slaughter facility prior to purchasing heritage breeds as the thick hide is often a source of contention during butchering.
They don’t seem to have issues with predators, but one excellent question posed by a participant was “Will they decrease gopher populations?”. It is a very intriguing question as they may destroy the gopher tunnels through rooting and perhaps they could even eat them? If anyone has any experience I would love to hear about it!
Unique Dining Experience
Day one of the Women’s Grazing School was definitely worth it for me. I came away with great ideas, some what-to-do's and some what-not-to-do’s, and enjoyed visiting with participants from around the province. If you are interested in other grazing schools for women, visit the Grazing School for Women Facebook page or contact your local Ag Fieldman.
Branding season has begun in our part of the woods! So I thought I would share some of our favorite recipes that we used this year. I typically make the majority of our branding recipes during the winter months when we are calving, and freeze them, because nobody wants to waste time in a kitchen when the sun is shining I the summer!
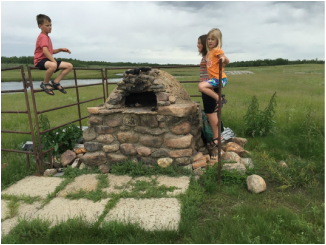
Because our new place isn't finished (or even close!) my in-laws have so graciously allowed us to use their facilities to calve, and share their branding. Our herd is still growing so it works out just great to be able to pair with them to get all of our calves branded at once. And I think our neighbors and friends enjoy it, because although brandings are super fun, after the 10th or 11th one, you just want your weekends and evenings back! What's on our menu
This is the ladies' job. When it comes to branding supper my hubs thinks we need to spend a fortune, have 5 courses and serve only desserts that need to be individually served with ice cream- YEAH RIGHT!!! So my mother-in-law and I sat down to hash out the details. We expect about 45 people at our branding (mostly family members) so we need things to be affordable, delicious and most of all, EASY!
I have linked some of the recipes we used this year, but here is our full menu: Crockpot Cabbage Rolls
|


|
1- 1.5 lbs of bacon
3/4 of a pepper (red, yellow or orange), cut into small pieces 2 tsp dry mustard 1/2 cup to 3/4 cup of brown sugar (depending on taste) 1 tsp paprika pepper to taste 2 LARGE (2L each or 4 each of the regular sized cans) cans of tomato sauce or maple flavoured beans (NOT molasses flavoured or kidney beans) |
|
Directions
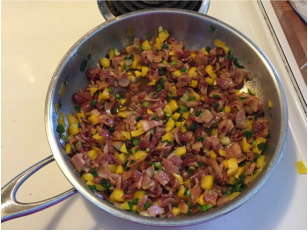
1. Fry the bacon in a frying pan until it become soft (not crispy). Remove. Once cooled, cut into small pieces.
2. In a large pot or pan, combine bacon, peppers, dry mustard, sugar, paprika and pepper. Let simmer to combine the ingredients. Taste the mixture. At this point it should have a bit of a bite to it. Adjust ingredients as necessary for your preference. You may want to add more paprika.
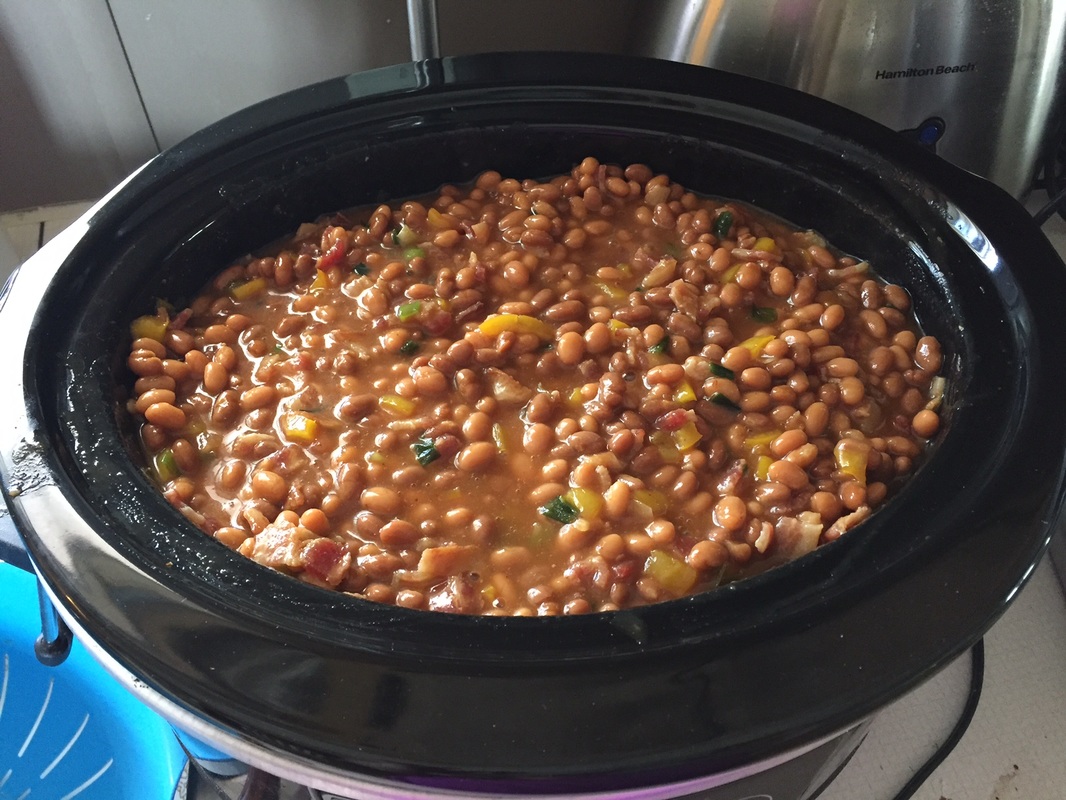
3. Add the beans to the pot or combine all ingredients in a slow cooker. Let cook until all ingredients are hot.
4. Serve!
I usually cook bacon a couple days ahead of time, chop it up and throw it in the fridge. On branding morning I quickly simmer the bacon, peppers, onions and spices. I then throw that in the crockpot with the beans and leave it on low all day until it's time serve.
I made a single batch for 45 people at our branding. There wasn't a lick left! I would suggest making a double batch for over 35-40 people. It will keep in the fridge or can be frozen to eat later.
2. In a large pot or pan, combine bacon, peppers, dry mustard, sugar, paprika and pepper. Let simmer to combine the ingredients. Taste the mixture. At this point it should have a bit of a bite to it. Adjust ingredients as necessary for your preference. You may want to add more paprika.
3. Add the beans to the pot or combine all ingredients in a slow cooker. Let cook until all ingredients are hot.
4. Serve!
I usually cook bacon a couple days ahead of time, chop it up and throw it in the fridge. On branding morning I quickly simmer the bacon, peppers, onions and spices. I then throw that in the crockpot with the beans and leave it on low all day until it's time serve.
I made a single batch for 45 people at our branding. There wasn't a lick left! I would suggest making a double batch for over 35-40 people. It will keep in the fridge or can be frozen to eat later.
A Blog About Our Life, Love & Lessons Learned on the Ranch
Categories
All
Alberta Beef
#Buildingafarm
Cattle Links
Digital Scrapbook
From The Kitchen
My Badlands
On The Farm
in the media
Archives
February 2024
December 2023
June 2022
February 2022
August 2019
July 2019
July 2018
May 2017
January 2017
November 2016
August 2016
July 2016
May 2016
March 2016
February 2016
January 2016
December 2015
November 2015
August 2015
May 2015
March 2015
November 2014
June 2014
April 2014
February 2014
December 2013
October 2013
September 2013
August 2013
July 2013
