|
Recently an article I wrote about my quest for the most functional ranch house design was featured on www.ruralhousewives.com. For a link to the article click here. If you have any great suggestions that you would incorporate into a new build, let me know! 
0 Comments

Hey ladies! Check out www.advancingwomenconference.ca for registration and information on this great agriculture opportunity for ladies only! This is the 2nd year that the conference will be coming to Western Canada and will be held in Calgary on April 6 & 7, 2015. Register now! 
You may have seen our faces on the April 15 Edition of the Alberta Farmer Express. See what Clay had to say about the cattle industry bouncing back by visiting: http://www.albertafarmexpress.ca/2014/04/15/provinces-decimated-cow-herd-may-be-on-the-mend/ 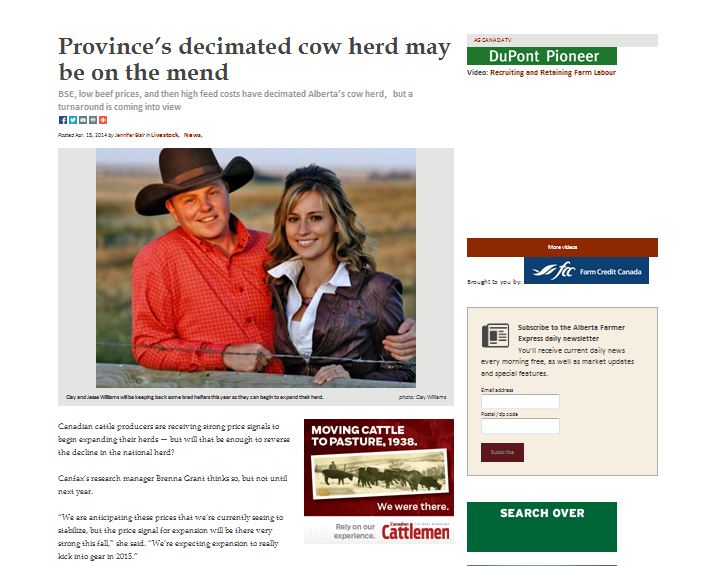
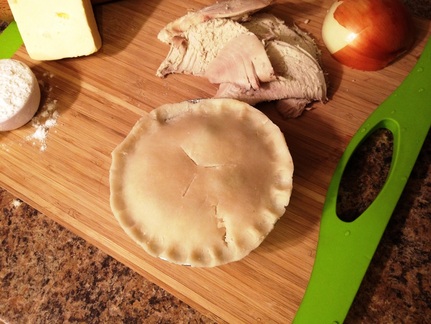 After cooking a savoury much-too-large-for-us chicken this week, I set out to make some freezer meals with the left over chicken. I made these delectable chicken pot pies from scratch, with veggies frozen from my garden this last summer and homemade pie crust! The small portions would make a perfect meal to pop into the oven during those long, cold days (and nights!) during calving season. I hope you enjoy!
Chicken Pot Pie Filling: 1/3 cup butter, unsalted 1/2 cup chopped onion 1/3 cup all purpose flour 1/2 tsp salt 1/4 tsp pepper 1 3/4 cup chicken broth 1/2 skim milk 1 lb cooked, shredded chicken 2 cups peas 2 cups corn 2 cups carrots, chopped 2 cups potatoes, chopped Directions: 1. Preheat oven to 425. Spray tinfoil pans or dishes with cooking spray. If making your own crust see below for my recipe. If not, you can get various different pre-made crusts that will do the trick. 2. In a saucepan over medium heat, melt your butter. Stir in your onion and allow to cook for 3-4 minutes. Be sure to stir often. 3. Add your salt, pepper and flour to the saucepan and gradually add your milk & broth, stirring. Bring to a boil. 4. Add your chicken and thawed veggies, as well as your potatoes. Continue to stir until the sauce thickens. Remove from heat. 5. Scoop your mixture into your pie crusts. This recipe filled 9 small individual pie plaPut a pie crust on the top of the mixture with slits to allow airflow. Use your fingers to pinch the edges of the crust. 6. At this point I put the individual pies in the freezer to be eaten later. If not freezing, pop in the oven for 20-40 minutes depending on the size of pie you chose. Crust Ingredients: 2 cups all purpose flour 1 cup shortening or lard 1 tsp salt Create a slurry with: 1/3 cup all purpose flour 1/2 cup ice water Directions: 1. In a large bowl, combine flour and salt. Cut in shortening with a pastry blender until you achieve pea-sized crumbs. 2. In a separate bowl create the slurry of flour and ice water. Be sure there are no lumps. 3. Add slurry to the large bowl, mixing the dough with your hands. 4. Turn dough onto a a floured surface and fold the dough onto itself while kneading to create layers. 5. Use a rolling pin to roll the dough out to the desired thickness. I used a bowl that was slightly bigger than the tin foil pie plates I was going to use, to cut the crust. Note: I had to make this particular crust recipe twice to have enough dough to make 9 small individual chicken pot pies. Many recipes only call for a top crust, not a bottom lining crust. If you choose to go that route the above recipe will be adequate for the amount of filling made in step one. If you choose to make one large pot pie the above recipe should be enough for one full top and one full bottom crust. Happy Cooking! 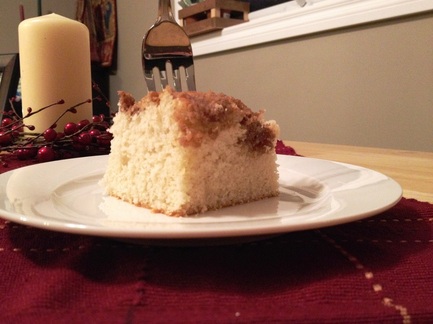 I don't know about your place but at ours, we get coffee-ers. I am not sure if that is a universal rancher term, or just a Williams term, but coffee-er's are your neighbors, friends and family that frequently stop in just to have coffee and chat about the communities happenings. And when you get coffee-ers you need a good treat- and what's better than home-made coffee cake!? This is another Pinterest recipe so click here if you would like to see the original link.
RECIPE Cake: 1 egg 1/3 cup melted butter or margarine 1/2 cup milk 1 tsp vanilla 1 1/2 cups flour 3/4 cup granulated sugar 2 1/2 tsp baking powder 1/2 tsp salt Topping: 1/4 cup flour 1/4 cup unsalted butter 1/2 cup light brown sugar 1 tsp ground cinnamon Preheat your oven to 375 degrees Fahrenheit. Combine the egg, milk, vanilla, butter and sugar with your stand mixer. In a separate bowl combine your flour, baking powder and salt. Slowly add the dry ingredient mixture to the wet ingredients in the mixer. Blend well. Taste the dough- this is important as the dough is oh so very tasty! To make the topping, in a separate bowl, combine the flour, butter, brown sugar and cinnamon. Use a pastry blender to create a crumbly mixture. Grease a 9 x 9 glass baking dish. Add the dough. Sprinkle the topping on top of the dough. Put the dish into the oven for 25-30 minutes or until an inserted tooth pick comes out clean. My coffee cake took about 35 minutes so don't be afraid to leave it a little longer. Cool, slice & enjoy around the table with your coffee-ers! 
Did you know that the average beef cow herd size in Canada is 63? Or that Western Canada finished 75% of all cattle in Canada? How about that Alberta is home to 39.3% of the beef cows in Canada? The Canadian Beef website (www.beefinfo.org) has an excellent array of beef industry tid bits and even free fact sheets you can print off! Click here to go to their order center with all the available fact sheets. You can also follow them on Twitter @CanadianBeef for up to the minute Beef Industry updates! Below is just an example of the great beef resources available on their site. 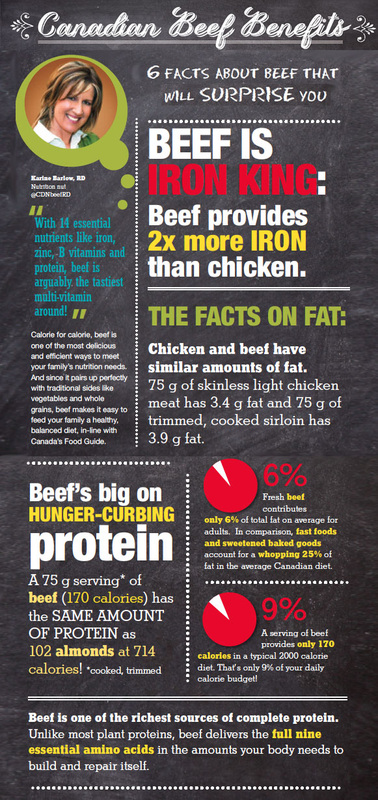
Photos from www.beefinfo.org
 Whiskey Creek Ranch is now on Twitter! Follow or give us a Tweet @WhiskeyCreek_AB New to Twitter? Go to www.twitter.com and sign up FREE today. Twitter is an exciting platform with tons of up-to-the-minute information and news. With the vast number of agricultural members, Twitter acts as an excellent way to see what is new and happening in agriculture across Canada and the world. 
I came across this recipe for melt in your mouth pumpkin cookies on pinterest and would like to pass it on to you on this miserable rainy day (I thought FALL was coming, not spring?). These cookies are a sweet delight for the upcoming colder months and the best part is that it uses up more of my home grown pumpkin puree!! Are you getting sick of pumpkin recipes from me yet?! A few notes: this recipe is HUGE! It made about 60 cookies, so you may want to half it or freeze some of the cookies for later. Also, in my opinion the frosting is a MUST - the cookie itself is not bursting with flavor, although the cinnamon and nutmeg add a nice light taste. The frosting is really what makes these cookies such a treat. The link to the website I got the recipe from is here, but I have explained all of the directions below. 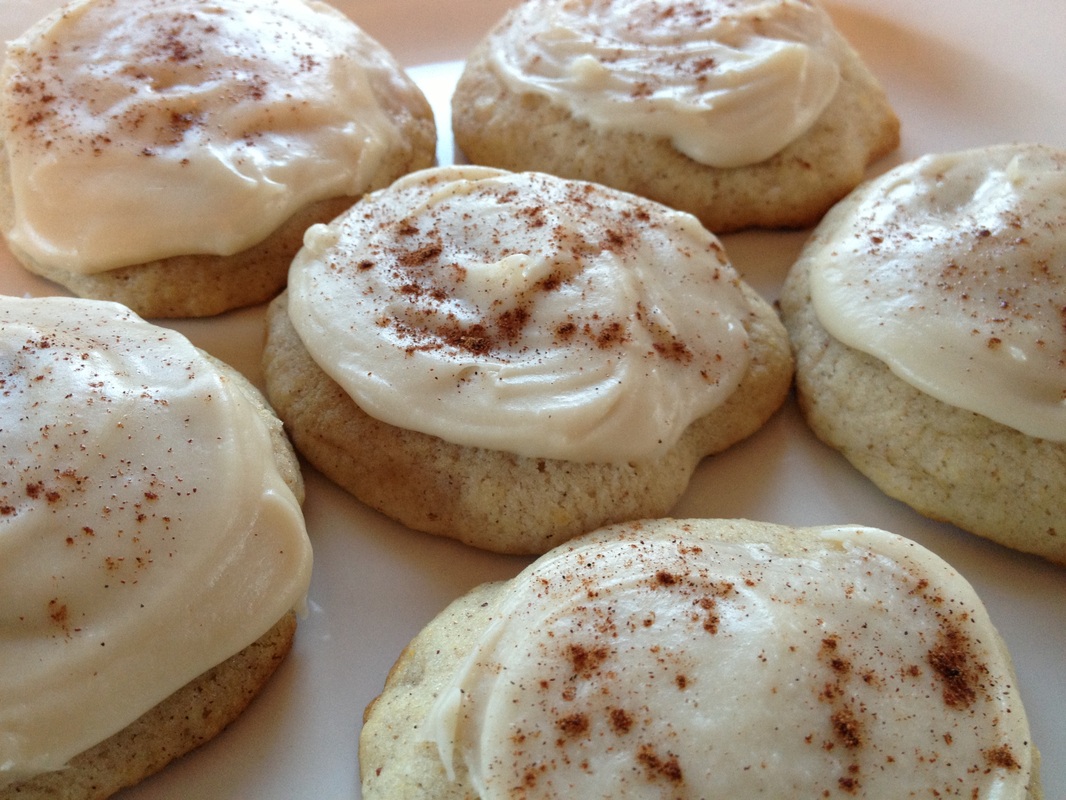
These Pumpkin 'Cake' Cookies are moist, sweet and literally melt in your mouth!
Recipe:
Cookies: 2 cups butter, softened 2 cups granulated sugar 2 tsp baking powder 2 tsp baking soda 1 tsp salt 1 tsp ground cinnamon 1 tsp ground nutmeg 2 eggs 2 tsp vanilla 1- 15 ounce can of pumpkin (or 2 cups of home made pumpkin puree!) 4 cups all purpose flour Frosting: 1/2 cup butter 1/2 cup packed brown sugar 1/4 cup milk 1 tsp vanilla 3 to 4 cups of icing sugar ground cinnamon (to sprinkle on top) Directions: -Preheat your oven to 35o degrees. -Add your softened butter to your stand mixer, beat for about 30 seconds until smooth. Add sugar, baking powder, baking soda, salt, cinnamon and nutmeg. Blend well. -Add in your eggs and vanilla. Blend well. Combine your pumpking puree. Warning! At this point your dough will look like curdled milk- dont worry! Once you add the flour it will start to look normal again. -Add the flour in. Because this recipe is so big your stand mixer may not be able to blend all the flour in. If this happens, get out that old wooden spoon and get mixin'! -Drop onto a cookie sheet with a cookie scoop or a teaspoon. Bake for 10- 12 minutes (Make sure your rack is in the middle or middle-top of your oven. My cookies only took 10 minutes.) -For your frosting, heat the butter and brown sugar in a sauce pan until melted and smooth. Transfer this to your stand mixer bowl, add in your vanilla and milk. Now you can begin blending in your icing sugar. Whip until smooth and you get the desired consistency for your cookies. I used the full 4 cups of icing sugar for my cookies. -Once your cookies cool, frost them, sprinkle a little cinnamon on top, grab a cup of your favourite coffee and enjoy this sweet autumn delight! Another harvest pumpkin recipe to pleasure your taste buds with! I really enjoyed these muffins, but if you have a husband like mine, who isn't overly fond of sweet things, leave out the optional crumble topping. However, if you are a sugar-nut like myself, the crumble topping is a must! 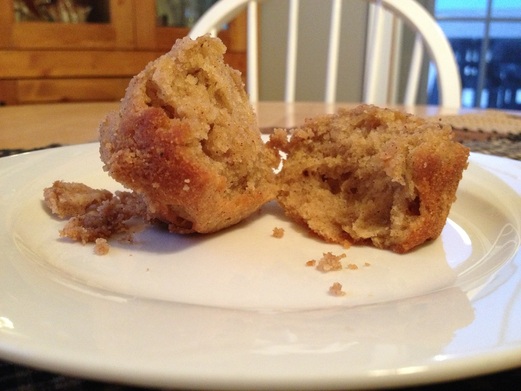
Recipe:2 1/2 cups flour
2 tso baking powder 1 1/4 tsp pumpkin pie spice 1 tsp ground cinnamon pinch of nutmeg 1 tsp salt 12 Tbsp unsalted butter, melted 2 cups packed brown sugar 1 can or 15 oz (or 2 cups home-made puree) pumpkin puree 3 large eggs Optional Crumble Top: 1/2 cup flour 1/8 cup packed brown sugar 1/2 tsp cinnamon pinch of salt 3 Tbsp room temperature unsalted butter Directions: Preheat your oven to 375 degrees. In a large bowl, combine dry ingredients. Mix well. In another bowl. combine butter, sugar, pumpkin and eggs. Mix well. Add dry ingredients to wet, stir. Pour batter into muffin pans (use liners or spray with Pam). Sprinkle the crumble over top of your muffins. Bake 25-30 minutes. To check if they are fully cooked, insert a toothpick into the muffins. It should come out clean. This recipe made a dozen large muffins. Enjoy! Recipe source: Small & Friendly Blog Harvest is beginning in our neck of the woods, and even though temperatures are 25+ degrees, fall IS coming, so I thought I would share this harvest favourite of ours. While our 2013 pumpkins are not yet ready, I did have some frozen pumpkin 'guts' left over from last year's garden which worked great for this recipe. If you dont process your own pumpkins, canned pumpkin works too. This recipe is SUPER easy and the prep takes almost no time at all, but the results are phenomenal! 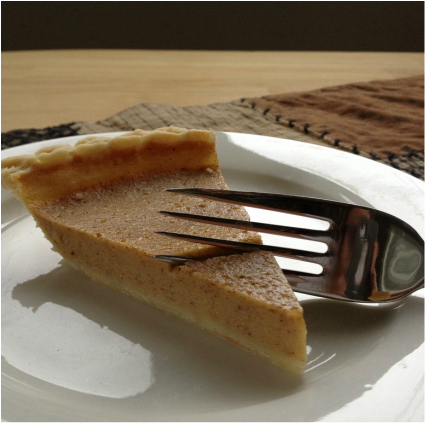
Recipe
Filling: 3 large eggs 15 ounces pure pumpkin puree (this worked out to 2 cups of my home-grown pumpkin) 1 can (12 ounces) evaporated milk 3/4 cup packed brown sugar 1 Tb cornstarch 1 tsp vanilla 3/4 tsp ground cinnamon 3/4 tsp ground ginger 1/4 tsp nutmeg 1/2 tsp salt Optional: Whipped Cream (who am I kidding, this isn't optional!) Pie Shell: I confess, I cheat on my pie shells. I purchase pre-made, frozen pie shells (Tenderflake Deep-Dish are great), which makes whipping up a pie wayyyy too easy! That's why I love this recipe so much- tastey homemade pie that only takes a few minutes of prep work. Preheat oven to 325 degrees. Whisk together ingredients in a large bowl and pour into your pie shell. Bake for 50-55 minutes, until you can poke the center with a toothpick and it comes out clean. Enjoy! This recipe will fill one deep dish pie shell to the top, or two regular pie shells 3/4 of the way. Hint: If you are using your own processed pumpkin, I recommend you puree it before using. The first time I preserved pumpkin I just boiled large pumpkin meat chunks and then mashed them with a potato masher. This was ok for muffins, but it resulted in a stringy texture in my pies that I wasn't so fond of. Before using my pumpkin this year I put it through a food processor and the texture was smooth and much more to my liking! |

A Blog About Our Life, Love & Lessons Learned on the Ranch
Categories
All
in the mediaArchives
February 2024
|
