|
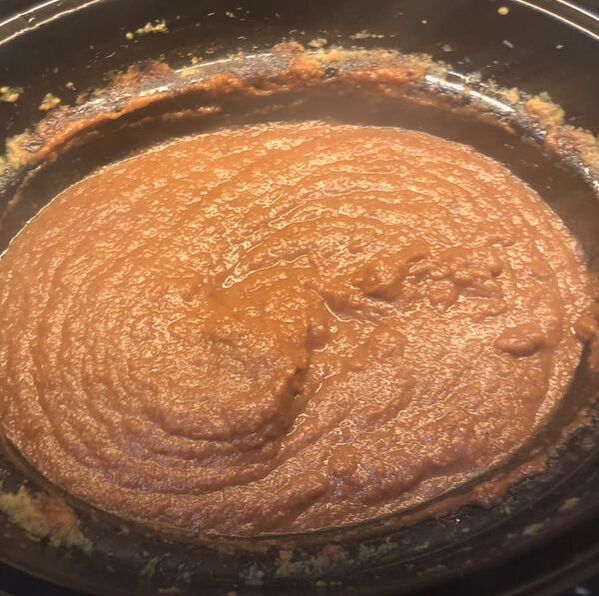
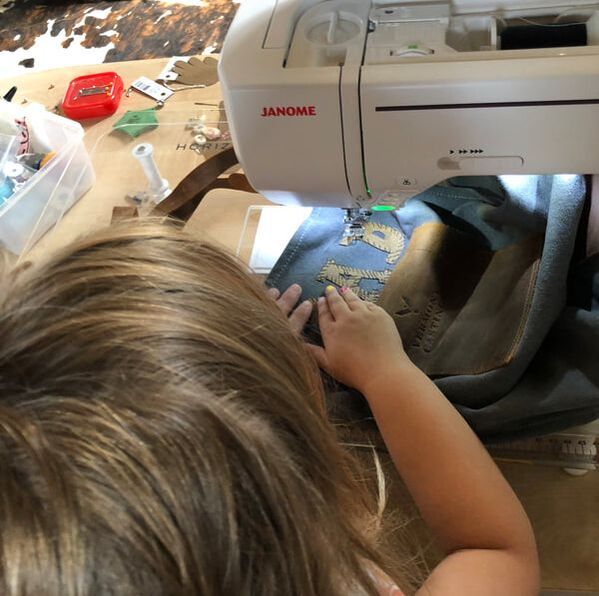
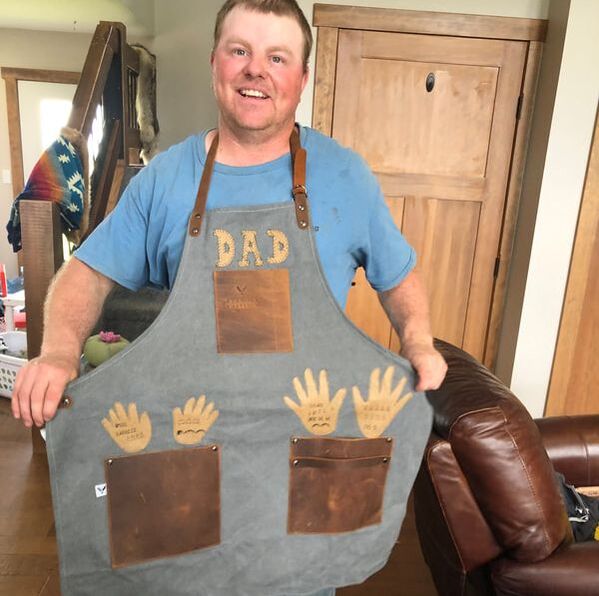
Happy Father's Day! This year's "theme" for Father's Day for Clay was all about grilling that #abbeef. Harper helped me sew (her first time!) a grilling apron for her dad, we got him his own personally branded gloves and of course, she helped me can some Rowdy Rhubarb BBQ Sauce. This was the first time we attempted this recipe, but it turned out pretty good! 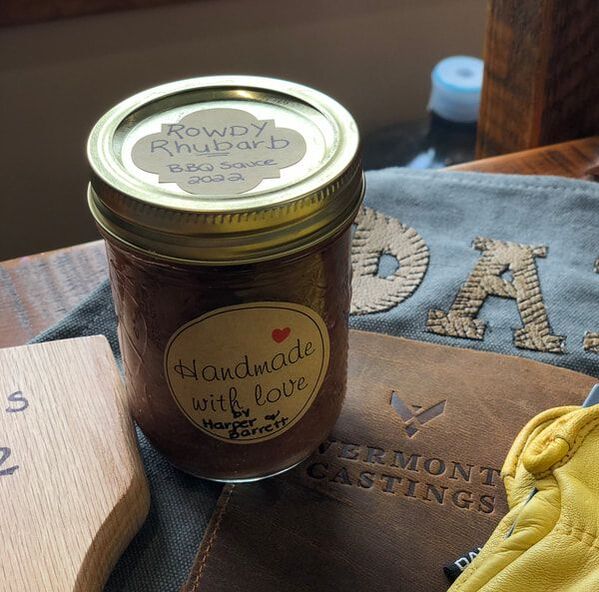 Ingredients Pulp of 4.5lbs of rhubarb (I used leftovers from the Rhubarb Vanilla Bean Jelly) 2 celery stalks, chopped finely (I used the slapchop) 4 garlic cloves, minced 1 onion, chopped finely (I used the slapchop) 1 cup water 1 1/3 cup white vinegar 2 2/3 cup sugar 2 tsp ground cloves 1/4 tsp cinnamon 1/4 tsp nutmeg 1 tsp garlic powder 2 tsp salt 1/2 tsp freshly ground pepper 1 TBSP liquid smoke Directions 1. Mix all of the ingredients and throw in the crockpot. Yes, its that easy! ha! I cooked mine on low for 8 hours, stirring often. The chunks will all become mushy and by the end will look much more like a sauce than a stew! If needed, use the emulsion blender to make a uniform sauce. 2. Before canning, bring the sauce to a full boil, stirring constantly as it will easily scald. 3. Pour into sanitized jars. Boil in water bath canner for 10 minutes at full boil. 4. Enjoy!
0 Comments
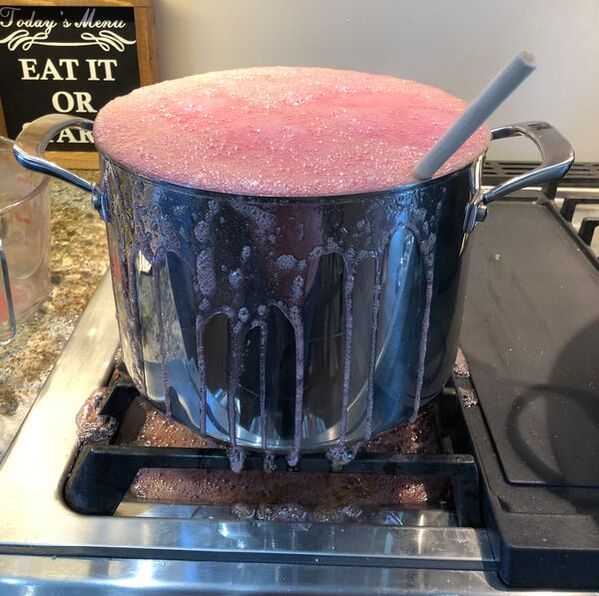
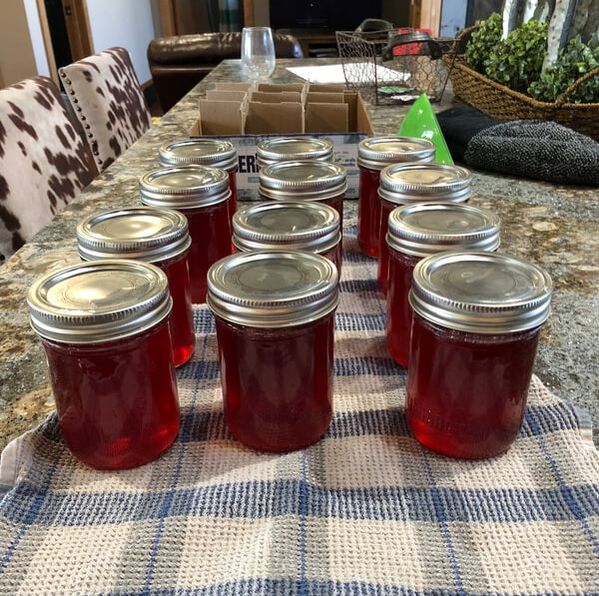
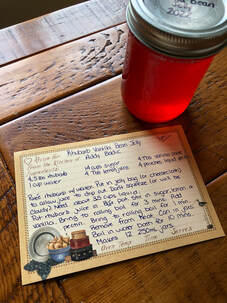 O.M.G. This recipe is AMAZING. My friend Addy from Cudlobe Angus West (check out their AAA Beef & purebred Angus cattle at CAwest.ca) suggested this jelly to me when I was overflowing with rhubarb this spring, and gosh am I glad she did. Ingredients 4.5lbs rhubarb (washed & cut up) 1 cup water 14 cups of sugar (I know, I know, but trust me!) 4 TBSP vanilla paste (or seeds of one vanilla bean- I can't find vanilla beans in our little town!) 4 TBSP lemon juice 4 pouches of 3oz liquid pectin Directions 1. Blend up the rhubarb into a pulp. I used my food processor. Add the 1 cup of water in with the rhubarb to make a puree. 2. Put the rhubarb puree in a jelly bag (I used cheese cloth to create a make-shift bag) and let the bag hang over a bowl, allowing the liquid to drip out. I did this over night. **Be sure not to squeeze the bag, as you don't want any of the "pulp". This will make the jelly cloudy and not clear like you want. 3. Once you get about 3.5 cups of liquid you are ready to make jelly! 4. Put the rhubarb juice in a LARGE stock pot. Reminder to self: Get BIGGER stock pot so it doesn't boil over AGAIN. Stir in the copious amounts of sugar, the lemon juice and vanilla paste (use the paste, not the extract so you get the beautiful black flecks!). Bring to a boil. Stir constantly so not to scald. Don't let it boil over because cleaning up sticky jelly is a B*TCH. 5. Let fully boil for 3 minutes. 6. After three minutes, add the liquid pectin and bring it back to a boil. Let fully boil for another 1 minute. 7. Take the jelly off the stove. Skim any foam (which is a lot if it boiled over, FYI) and discard. 8. Pour into sanitized glass canning jars. I boiled in the canner for 10 minutes, but depending on your altitude, you can check your canning times. 9. Try not to eat in one sitting! Enjoy!
Heads up! Don't throw out the leftover rhubarb "pulp".
I used mine to make this Rowdy Rhubarb BBQ Sauce! 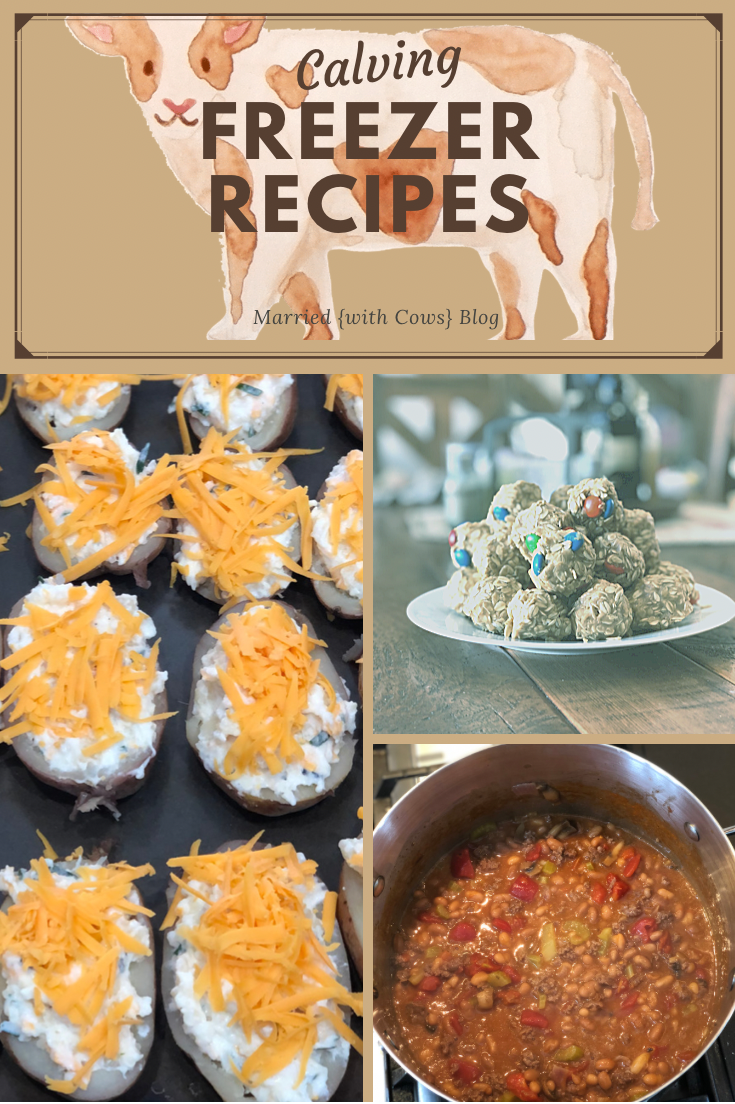 If you're here for inspirational, beautifully garnished cuisine with fresh garden herbs, you're in the wrong place. If you're here to prep for calving and want a freezer full of EASY, yummy, good ol' fashion meals, then I got you. Read on... First you need to know that I am LAZY in the kitchen. I don't enjoy cooking. I do it because apparently it is a necessity for my family to eat. So before our busiest season of the year I like to stock up on ingredients, meals and easy-peasy-lemon-squeezy foods for us to grab on the go (or just eat numbly while we try to keep our eyes open after a long night of calving). Here's a few tips & tricks I use to get ready for calving season (or any busy season!): supperBIG BATCH everything & freeze. Period. In the weeks leading up to calving when I make something for supper, say lasagna, but I'll do a triple batch and freeze the extras in tinfoil containers. Put in the freezer and VOILA, when I'm running behind (or simply don't want to cook), I pull out a freezer meal and I'm a hero. I do this all year round and with baking too. The best part is that I usually have extras after calving still in the freezer- hello haying meals! And those leftovers from branding (or make extras on purpose)- hello harvest meals! Some of my favorite meals to big batch & freeze are below: Lasagna- I just wing my lasagna recipe (but I also love this zucchini lasagna recipe when I have tons of big zucchini from my garden!) Spaghetti Bake- Whenever you have leftover spaghetti (which is often in my house because I can't seem to measure spaghetti appropriately) I throw this together and pop in the freezer Crockpot Roast Beef- I'll do a rather large one and then use the leftovers for a few days. I can then make & freeze... Shepherd's Pie- Perfect for your roast beef (or hamburger) & mashed potato leftovers Roast Chicken- Not a real time saver, but if you plan ahead you can make a chicken and use your leftovers to make & freeze... Chicken Pot Pie- I sometimes make mini versions for easy individual field/work meals, but you can make large family size ones too. Clearly I wrote this recipe out pre-kids as today I would just buy pre-made pie shells, ha! Stuffed Potatoes- great to have in the freezer, individually wrapped and ready to pop out whenever you need a quick side. I loosely follow this recipe but mostly just wing it. Super Potatoes- these are what we make for branding and they're a huge hit! Again, another great side option to thaw and throw in the oven. Chili- My mom's chili recipe is the BOMB (and not spicy, because we're not spicy family). Check my insta story highlights for a rough recipe. When I cook chili I usually pair it with this cornbread. This also freezes great & is easy to throw on the side of a field meal later on! Casseroles- My hubs is not a fan, so I don't have any stellar recipes for you (sorry!) but I'm sure you hve your faves. LUNCHWhile anything above could be used for lunch (hello, leftovers), I have a few go-to lunch recipes that I don't prep ahead of time but always have the ingredients on hand for in my freezer. They're not glamorous but they are delicious. Also, they're great if you need to feed a crowd on short notice, or after helping you process cows. Garlic Bread Pizza: Think pre-made garlic bread from your grocery store, pasta sauce from a jar, your favorite pizza toppings (I buy pre-packaged pizza meat variety packs) & cheese. Bake in oven until warm. Done & delicious! Ham & Swiss Sliders (my absolute favorite- I could live on this recipe!)- I just always have a dozen tray buns, swiss cheese and a pack of pre-sliced sandwich ham in my freezer. Pigs in a Blanket. Yep, its definitely not glamorous but its darn easy & tasty. Have hot dogs and pilsbury dough on hand. It's that easy. Pair with some canned soup. Done. Calzones- Any time I have leftover meat (roast, taco meat, ground beef, chicken, anything!) I will throw it in some sauce & cheese and stuff it in a calzone. Freeze. Thaw when needed & warm! BREAKFASTPancakes- My mom taught me this and its genius. Whenever you make pancakes, make a ton. Then freeze the extras in a ziploc with parchment paper between. Take out one at a time and throw in the toaster for instant pancakes in the morning! Baking Powder Biscuits- you'll see this one in dessert too, and you'll know why once you try them. But my hubs loves them with just butter or homemade jam/jelly as breakfast. Or throw some fruit in the recipe for a scone-like breakfast treat. You can find the recipe in my insta highlights. Smoothies- I like the taste, but hate the hassle/clean up. But of course my daughter loves them, so I'll make a big batch of fruit smoothie (literally just throwing in whatever I have on hand) and then freeze extra in ice cube trays. Then when she wants a smoothie I'll take a few out, add either milk or yogurt and bammo, done! Muffins- I always have tons of veggies/fruit in the freezer from my garden so I attempted to use up some in these healthy-ish recipes. I did a couple dozen of each and then froze them in variety packs of 12. My intention is to thaw a pack, use them for breakfast & snacks as easy to grab options: Banana Rhubarb Muffins Pumpkin Banana Muffins Apple Rhubarb Muffins Double Chocolate Zucchini Muffins Banana Chocolate Chip Muffins DESSERTBaking Powder Biscuits- Now this is the way my side of the family likes to enjoy these biscuits- as dessert. Add whipped cream & strawberries. Easily one of my fave desserts of all time. I make big batches and freeze in ziplocs. Again, find the recipe in my insta highlights. Bread Machine Sticky Buns- Now my mom has the BEST cinnamon sticky buns, but they take her ALL day to make. I have no time for that. Hello bread machine- no kneading here! While this recipe does take some time (for rising) and dirty dishes, you can make big batches easy and freeze. YUMMM. Apple & Pumpkin Pies- These are my go-to recipes for dessert. I grow lots of pumpkins in the summer and collect my mom's apples so these ingredients are always on hand in my freezer for me. I've also made individual pies in little tart shells for brandings or field meals. Super handy. SNACKSIs there anything better than baked goods? Nope. I am a sweets girl alllll the way. So I like to bake some snacks for the freezer I can just pull out and thaw. Banana Bars- If you're like me, I have a TON of old bananas in the fridge, so you'll see a common theme below ;). A new recipe I had to try this year was Rocking Bar H Ranch's Banana Bar. I was insta-influenced on this one and it was so worth it! Also if you don't follow Brooke (@rockingbarhranch) on Instagram, you should! Cookies My favorite year-round cookie hack is to make our favorite cookie doughs, scoop them out on a cookie sheet, then freeze them. Once frozen I take them off the cookie sheet, throw them in a ziploc and put them back in the freezer. This makes it sooooo easy any time you want cookies. Just grab as many as you like, thaw (or if you don 't have time, I add about 2 mins to my regular cook time) and bake! This is my go-to hack for when neighbours show up and I need something yummy to share! This year I made Chocolate Chip Cookies & Double Chocolate Cookies and froze the dough. Pumpkin Cake Cookies- These are a long time fave of mine and a perfect way to use up more of my frozen pumpking puree. I haven't froze the cookie dough before, but I do freeze the whole cookie, icing and all. Monster Cookie Oatmeal Energy Bites- My sister-in-law introduced me to these. AMAZING and way too easy. Literally just combine 3 cups oats, 1 cup peanut butter, 1/2 cup honey and 1/2 cup M&M's or chocolate chips. Shape into balls, refrigerate for an hour. Done!
Posted By: Jesse Williams If you have zucchini coming out of your garden like I do, this is a great way to preserve it for the winter. Credit goes to my big sister for sharing this recipe with me and answering all my canning questions, even at 10pm at night! 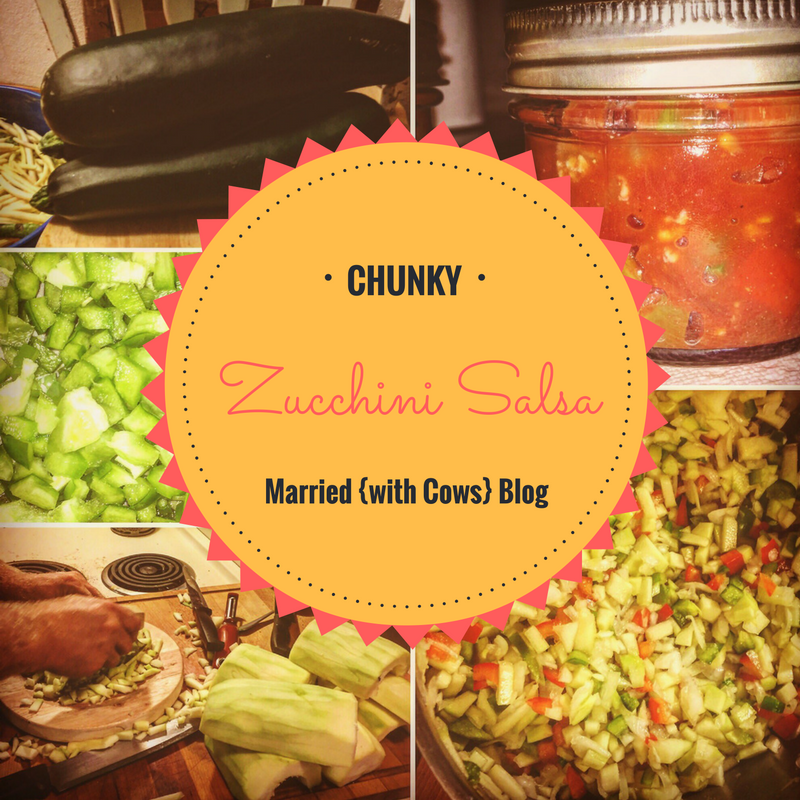 Ingredients: PART 1: 12 cups of chopped Zucchini, seeds removed (can shred if you prefer the texture) 4 cups chopped yellow onion 2 cups chopped red pepper 2 cups chopped green pepper 2 jalapenos, chopped (remove rubs & seeds for mild taste) ¼ cup pickling salt PART 2: 8 cups chopped tomatoes (can used canned dice, or fresh with skin removed) 1 cup brown sugar 2 cups pickling vinegar 2 tsp chili powder 2 Tbsp cornstarch 2 crushed garlic cloves (large) 2 tsp cumin 2 tsp dry mustard 2- 13oz cans of tomato paste Directions: PART 1:
Branding season has begun in our part of the woods! So I thought I would share some of our favorite recipes that we used this year. I typically make the majority of our branding recipes during the winter months when we are calving, and freeze them, because nobody wants to waste time in a kitchen when the sun is shining I the summer!
Because our new place isn't finished (or even close!) my in-laws have so graciously allowed us to use their facilities to calve, and share their branding. Our herd is still growing so it works out just great to be able to pair with them to get all of our calves branded at once. And I think our neighbors and friends enjoy it, because although brandings are super fun, after the 10th or 11th one, you just want your weekends and evenings back! What's on our menu
This is the ladies' job. When it comes to branding supper my hubs thinks we need to spend a fortune, have 5 courses and serve only desserts that need to be individually served with ice cream- YEAH RIGHT!!! So my mother-in-law and I sat down to hash out the details. We expect about 45 people at our branding (mostly family members) so we need things to be affordable, delicious and most of all, EASY!
I have linked some of the recipes we used this year, but here is our full menu: Crockpot Cabbage Rolls
|

|
1- 1.5 lbs of bacon
3/4 of a pepper (red, yellow or orange), cut into small pieces 2 tsp dry mustard 1/2 cup to 3/4 cup of brown sugar (depending on taste) 1 tsp paprika pepper to taste 2 LARGE (2L each or 4 each of the regular sized cans) cans of tomato sauce or maple flavoured beans (NOT molasses flavoured or kidney beans) |
|
Directions
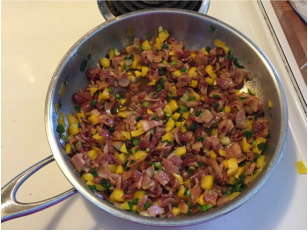
1. Fry the bacon in a frying pan until it become soft (not crispy). Remove. Once cooled, cut into small pieces.
2. In a large pot or pan, combine bacon, peppers, dry mustard, sugar, paprika and pepper. Let simmer to combine the ingredients. Taste the mixture. At this point it should have a bit of a bite to it. Adjust ingredients as necessary for your preference. You may want to add more paprika.
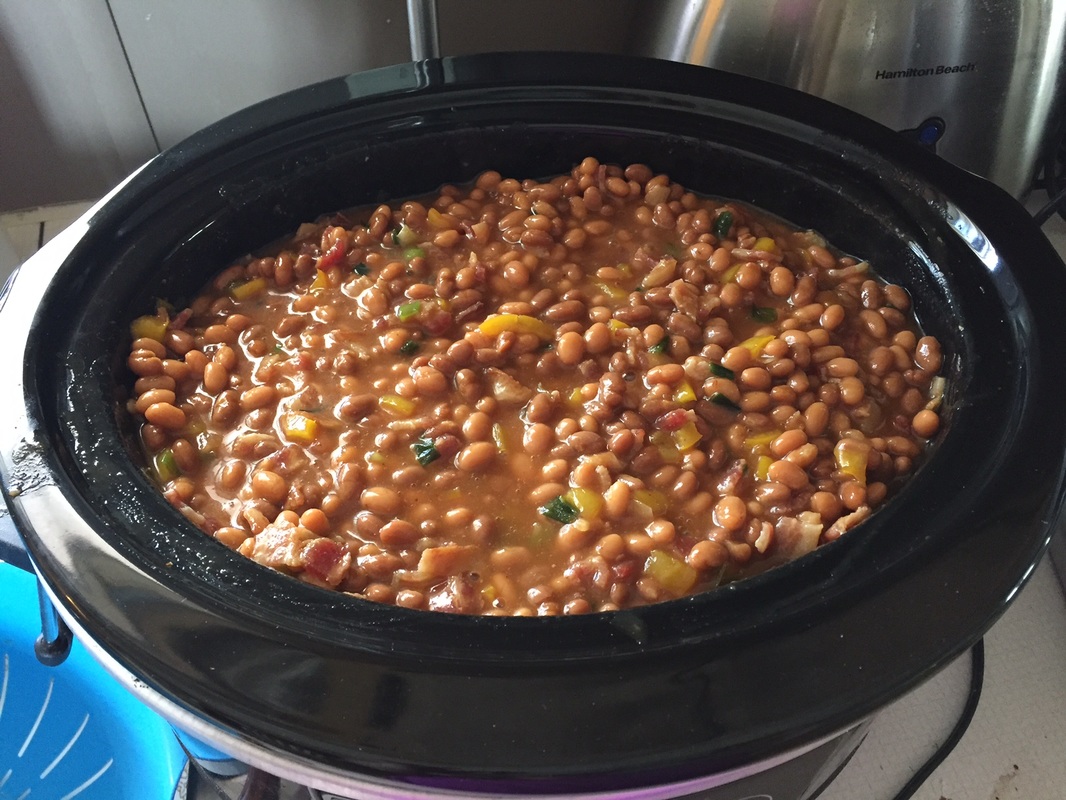
3. Add the beans to the pot or combine all ingredients in a slow cooker. Let cook until all ingredients are hot.
4. Serve!
I usually cook bacon a couple days ahead of time, chop it up and throw it in the fridge. On branding morning I quickly simmer the bacon, peppers, onions and spices. I then throw that in the crockpot with the beans and leave it on low all day until it's time serve.
I made a single batch for 45 people at our branding. There wasn't a lick left! I would suggest making a double batch for over 35-40 people. It will keep in the fridge or can be frozen to eat later.
2. In a large pot or pan, combine bacon, peppers, dry mustard, sugar, paprika and pepper. Let simmer to combine the ingredients. Taste the mixture. At this point it should have a bit of a bite to it. Adjust ingredients as necessary for your preference. You may want to add more paprika.
3. Add the beans to the pot or combine all ingredients in a slow cooker. Let cook until all ingredients are hot.
4. Serve!
I usually cook bacon a couple days ahead of time, chop it up and throw it in the fridge. On branding morning I quickly simmer the bacon, peppers, onions and spices. I then throw that in the crockpot with the beans and leave it on low all day until it's time serve.
I made a single batch for 45 people at our branding. There wasn't a lick left! I would suggest making a double batch for over 35-40 people. It will keep in the fridge or can be frozen to eat later.
Posted By: Jesse Williams
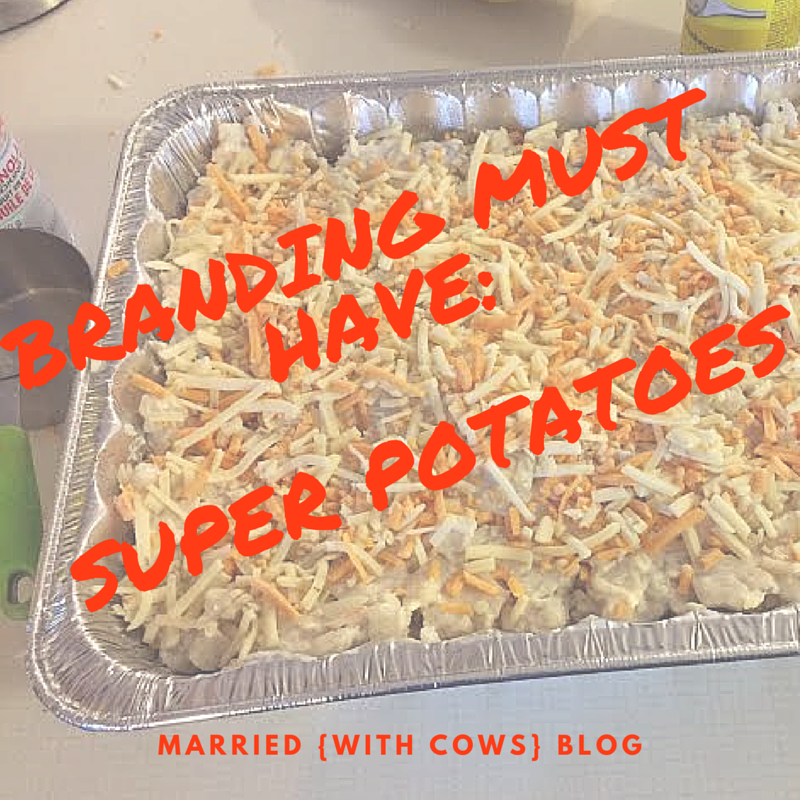
This recipe is my number one recipe for any and all pot lucks, including branding. It is easy to make, especially in big batches, freezable, and always a favorite around the dinner table. I like to make all sizes, ranging from individual to party size, to have on hand in my freezer. They do take some time to thaw so I usually set them out the night before or the morning of to make sure.
Ingredients
2lbs frozen hashbrowns **
1 cup diced onions 2 cans mushroom soup 500mL (large carton) sour cream 1/2 cup margarine 2 + 1 cups shredded cheddar cheese salt & pepper to taste **I tried to use diced potatoes from my garden. It DID NOT work! I think maybe if you fried them first, but that's too much work for this gal. Just cheap out and buy the $2.00 bags! Directions
|
|
Preheat oven to 350F.
Literally just mix this all together in one GIANT bowl. Add 2 cups of cheese into the mixture and save the remaining cup to sprinkle on top.
Grease a large tin pan (because nobody wants to clean pans after branding!) and spread the mixture into the pan. Top with extra cheese. Put a layer of foil on top.
Cook at 350F for about an hour. Test with a fork to make sure it is hot all the way through.
*I triple the recipe to feed about 65 people at branding. I also make extra and freeze in individual tin containers for Clay and I to just pop in the oven when we're feeling lazy!
You may also like...
Posted By: Jesse Williams
My hubs LOVES pumpkin pies. So when he begged for pie as a dessert at our branding, I knew I had to do something (but certainly not cut and serve 65 slices of pie- is he crazy?!). So I used my all-time favorite easy peasy pumpkin pie filling from scratch recipe and put it into individual tarts. This way all you need to do at branding is put them out with a can of whipped cream and there's no fuss or mess! And bonus, just like the apple tarts, this recipe is CHEAP!
Ingredients
|
24 tart shells (or you can make your own using this recipe)
2 cups pureed pumpkin 1 can (14oz) sweetened condensed milk 2 large eggs 1 tsp vanilla 2/3 cup brown sugar 1/3 cup sour cream 2 tsp cinnamon 1/2 tsp nutmeg 1/2 tsp ginger tsp salt |
|
Directions
|
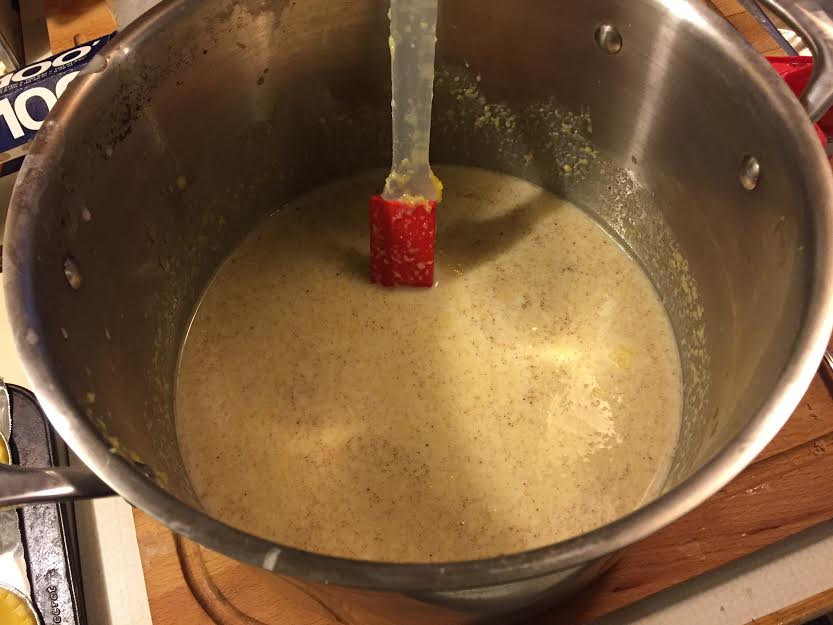
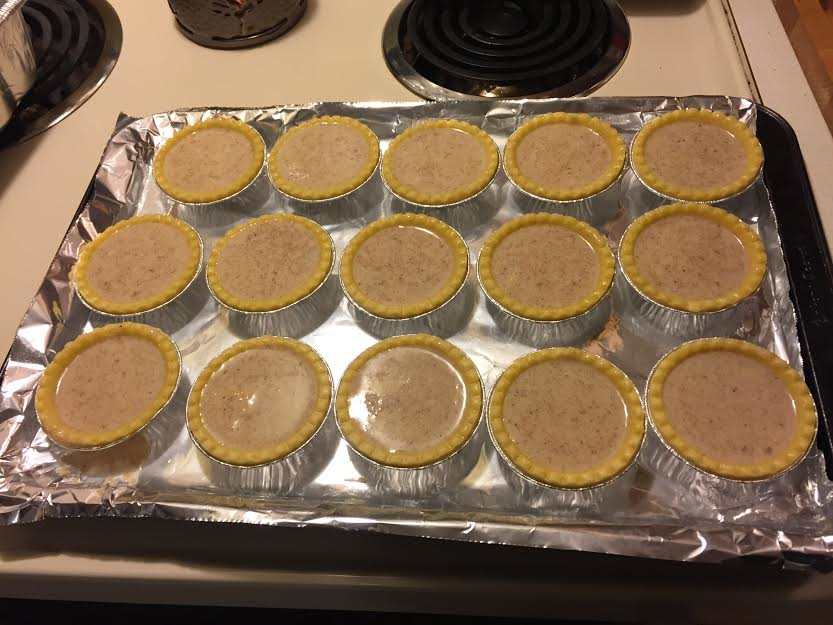
1. Preheat oven to 350F
2. Combine all ingredients in a large bowl. Mix well. 3. Use a ladle to scoop the mixture (it will be very runny) into each tart. Fill to the top. 4. Bake for about 24 minutes. Check often. You want golden brown crust edges. The middle should no longer jiggle (but a toothpick will not come out clean). 5. Cool and enjoy! Or freeze for use at a later time.
|
|
Posted By: Jesse Williams
This apple pie filling recipe comes from my mom and it is always a sure-fire hit. You can use the same filling recipe to make one large deep dish apple pie, however for branding I like to make individual tart sized pies for less fuss and easier clean up.
My favorite part about this recipe is how cheap it can be! All the apples are from our trees the year before. I core and cut all our crab apples in the fall, lay them on cookie sheets and freeze them (so they won't stick together). I then throw them in large freezer bags and voila! Pies are too easy!. You can also make all your own pastry (it's actually easy!) for a super cheap way to feed guests.
My favorite part about this recipe is how cheap it can be! All the apples are from our trees the year before. I core and cut all our crab apples in the fall, lay them on cookie sheets and freeze them (so they won't stick together). I then throw them in large freezer bags and voila! Pies are too easy!. You can also make all your own pastry (it's actually easy!) for a super cheap way to feed guests.
Ingredients
-24 tart shells
(plus an extra 24 for the top) or use this recipe to make your own -2 TBSP flour -2 tsp cinnamon -1 cup sugar -6 apples, sliced or 6 cups pre-cut/frozen apples -2 tsp lemon juice -milk, for brushing on tarts |
|
Directions
1. Preheat oven to 350F
2. Thaw frozen tart shells & apples (if necessary)
3. Cut apples, if necessary
4. In a bowl, mix flour, sugar and cinnamon together. Pour the mixture into a bowl with the apples. Mix until all apples are evenly coated.
5. Sprinkle lemon juice on top of apples (I only do this if using really sweet apples. I don't use the lemon juice when I am using crab apples from my backyard.)
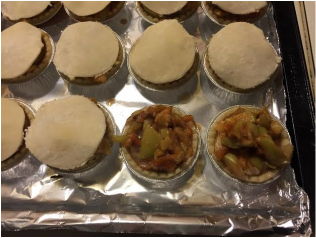
6. Fill each pie shell, only to the top.
7. Put upside-down tart shell or pre-cut homemade pie shells on the top of the tart. Squish edges of the tart to keep from boiling over.
8. Brush each tart pie with milk. Slice a hole in the top of each tart.
9. Sprinkle sugar on top of the tarts.
10. Bake in the oven for about 45 minutes. Watch carefully. You want the tart to be golden brown when done.
**I like to put all my tarts on tin foil on top of the baking sheet. Inevitably, some tarts will boil over and it is really difficult to get the baked on goo off!
11. Let cool. Enjoy or freeze for later!
2. Thaw frozen tart shells & apples (if necessary)
3. Cut apples, if necessary
4. In a bowl, mix flour, sugar and cinnamon together. Pour the mixture into a bowl with the apples. Mix until all apples are evenly coated.
5. Sprinkle lemon juice on top of apples (I only do this if using really sweet apples. I don't use the lemon juice when I am using crab apples from my backyard.)
6. Fill each pie shell, only to the top.
7. Put upside-down tart shell or pre-cut homemade pie shells on the top of the tart. Squish edges of the tart to keep from boiling over.
8. Brush each tart pie with milk. Slice a hole in the top of each tart.
9. Sprinkle sugar on top of the tarts.
10. Bake in the oven for about 45 minutes. Watch carefully. You want the tart to be golden brown when done.
**I like to put all my tarts on tin foil on top of the baking sheet. Inevitably, some tarts will boil over and it is really difficult to get the baked on goo off!
11. Let cool. Enjoy or freeze for later!
You may also like...
Posted by: Jesse Williams
This year we tried something new when we were making our annual deer sausage- pepperoni's! This called for a different casing than we were used to but overall we think our first attempt was a success. Check out this simple recipe below!
If you've seen our Big Game Sausage recipe, this will follow the same format, except for different spices and casings. You can reference that recipe for lots of tips and tricks in preparing the 60/40 ratio of ground deer to pork that we used.
Ingredients (20lb batch)
20lbs of ground meat (we used 12 lbs deer, 8 lbs pork)
1 pkg Original Wild West Pepperoni Sausage Seasoning (we paid $7.99 at Peavy Mart)
Pepperoni Casings (we purchased them from our local grocery store's butcher division)
Hot water for mixing
1 pkg Original Wild West Pepperoni Sausage Seasoning (we paid $7.99 at Peavy Mart)
Pepperoni Casings (we purchased them from our local grocery store's butcher division)
Hot water for mixing
Directions
This recipe is too easy. After grinding your deer/pork, mix them together with your hands, adding in the package of spices and any hot water you may need to increase the mixability of the pepperoni.
Once you are satisfied that the mixture is well combined, transfer the ground meat to your sausage press. Because pepperoni's are typically much smaller than sausage, we reduced our sausage press tip to about 0.75" diameter, however do whatever your family prefers. This will be larger than the traditional 'Hot Rods' you get at the convenience store, but makes for a great snack!
Once you are satisfied that the mixture is well combined, transfer the ground meat to your sausage press. Because pepperoni's are typically much smaller than sausage, we reduced our sausage press tip to about 0.75" diameter, however do whatever your family prefers. This will be larger than the traditional 'Hot Rods' you get at the convenience store, but makes for a great snack!
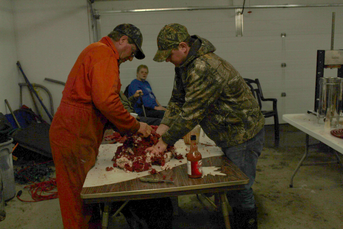
Push the casings onto the tip of the sausage press. You will notice that they are a lot stiffer than your sheep gut casings you might be used to with sausage. They're also red. Very red. And that dye will get everywhere! I would highly recommend laying down a plastic sheet on your table as the red dye could turn light colored tables pink!.
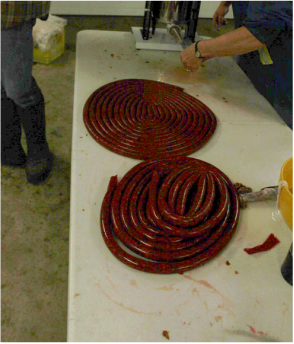
We tried pinching the pepperoni's into individual sizes as it came out of the press, but quickly found out that wasn't very efficient. I would recommend just making one big coil of pepperoni until you run out of casings, then pinch them off after.
The last step is to cold smoke the pepperoni's so that they are ready for snacking. We use a small propane powered smoker, and although we can't fit a lot in at a time, its quite effortless- just put them in and forget them.
We smoked our pepperoni's for about 4 hours. Check often to ensure you are not burning them, but that they are still cooked all the way through, as we don't cook them again before eating them.
We then just packaged them in Ziploc freezer bags and threw them in the freezer for easy access whenever we want a snack!

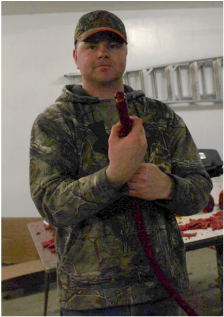
pinched pepperoni before smoking
You may also like these other #meatmonday recipes...
A Blog About Our Life, Love & Lessons Learned on the Ranch
Categories
All
Alberta Beef
#Buildingafarm
Cattle Links
Digital Scrapbook
From The Kitchen
My Badlands
On The Farm
in the media
Archives
February 2024
December 2023
June 2022
February 2022
August 2019
July 2019
July 2018
May 2017
January 2017
November 2016
August 2016
July 2016
May 2016
March 2016
February 2016
January 2016
December 2015
November 2015
August 2015
May 2015
March 2015
November 2014
June 2014
April 2014
February 2014
December 2013
October 2013
September 2013
August 2013
July 2013
