|
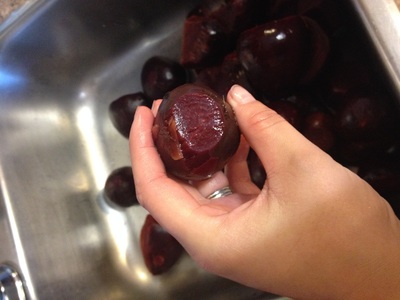
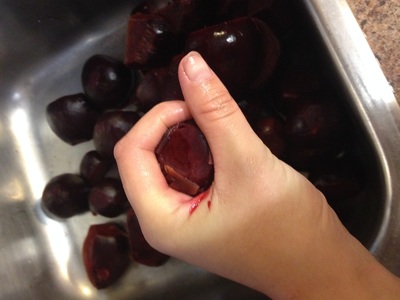
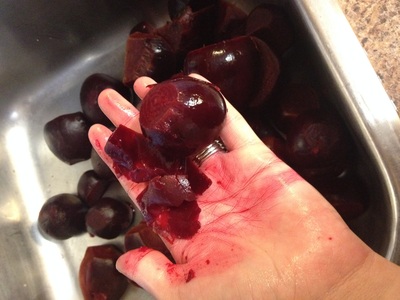
Beets are one of our favorite things to grow in our garden. Try some of the below recipes for preserving these delicious red veggies! Freezing Beets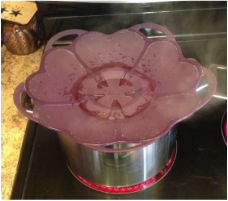 This is this simplest of preservation recipes... 1. After picking your beets, remove the tops, bottom 'tap root' and any scabs. 2. Wash your beets in the sink. A lot of people will argue that you shouldn't cut the beets, saying that keeping the beets whole will prevent them from bleeding and keep more of the nutrients in the veggie. I like to wash and cut my beets first because I use the beet water to make jelly and prefer not to have dirt or scabs on my toast! But do as you wish. 3. Boil the beets in a large pot until tender. Depending on the size, this may take 30-50 minutes. Put your beet water aside. Don't throw it out! NOTE: Your kitchen will look like somebody butchered a cow- there will be red beet juice EVERYWHERE! To minimize the splatter, boiling over & months of smoking oven elements, try this SUPER HANDY Epicure 'Silicone Spill No More'. It prevents your pots from boiling over and the $25.00 it costs is SO WORTH IT! Not just for beets, but for anything and everything you boil! You can check it out online at: http://www.meganblack.myepicure.com/en-ca/shop.aspx 4. Cool the beets by removing them one by one from the beet water and placing them in ice cold water. As soon as you can handle the temperature of the beets, begin peeling them. 5. By placing them in the ice water, you should be able to essentially 'squeeze' the entire peel off of each beet, as per the pictures below. If you wait too long, peeling will become more difficult. 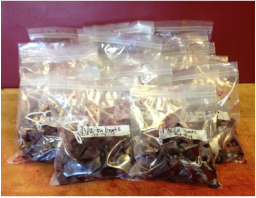 6. After peeling the beets, allow them to cool further. You can then cut to your desired shape & size. In the past I have used a food processor as I had large quantities of beets. This does work but it will make your pieces rather small. If you want bigger pieces, get out our knife and start chopping! 7. I like to portion about 1.5-2 cups of beets per ziploc bag. This is enough for my family of two. Choose whichever you like & will use. 8. Either vacuum seal (if you are lucky enough to have one!) or use a straw to suck out any extra air in the bags. This will help your frozen beets last longer. Don't forget to label the bags with the date. 9. Throw them in the freezer and enjoy home-grown veggies all winter long! Beet Puree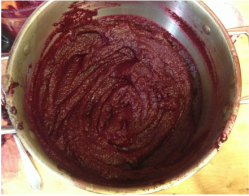 Pureeing beets was a new adventure for me this year. After seeing multiple recipes on Pinterest about adding beet puree, I decided I would try it. 1. I followed steps 1 through 6 above, washing, boiling and peeling the root vegetables. 2. I then simply chopped them up small enough to fit in my favorite kitchen item- the food processor. Because the beets are relatively dry, I did end up adding a few cups of beet water to the mixture. The photo to the left is what my beet puree looked like. Beet Jelly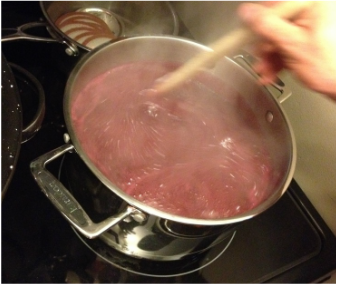 After boiling so many beets and seeing the vibrant red water left in the pot, I just couldn't throw it away! I went to Facebook and asked my friends if they had any great recipes for beet cooking water. My Aunt sent me this DELICIOUS beet jelly recipe... Bring to a boil: 4 cups of beet water 1.5 packages of Certo 4 Tablespoons of lemon juice Add: 1 package of grape Jell-o 4 cups of sugar Boil for 6 minutes. Pour into clean jars & seal. This recipe was way too easy! And the jelly actually tastes GREAT! I must admit I was very reluctant to put beets on my morning toast but the sugar and jell-o help to keep the jelly sweet. And the color is just vibrant! ENJOY!
0 Comments
Your comment will be posted after it is approved.
Leave a Reply. |
A Blog About Our Life, Love & Lessons Learned on the Ranch
Categories
All
in the mediaArchives
February 2024
|
